When it comes to roof inspections, we find that homeowners generally weigh two main paths: DIY or hiring a professional. Each approach carries its own set of risks, costs, and benefits. The right choice for you depends on your technical comfort level, the current age of your roof, and whether you are dealing with recent storm damage.
Note: This post was originally published in October 2025 and has been fully updated in 2026.
Key Takeaways for 2026:
- DIY Inspections are useful for monthly spot-checks and identifying obvious debris or shingle loss after minor wind events.
- Professional Inspections are essential for insurance documentation, warranty compliance, and detecting “invisible” moisture intrusion using 2026-standard thermal imaging.
- Safety First: In 2026, residential roofing remains one of the highest-risk DIY tasks; we always recommend ground-level visual checks over climbing ladders without professional fall-protection gear.
Quick Comparison: DIY vs. Professional:
| Feature | DIY Inspection | Professional Inspection |
|---|---|---|
| Cost | Free (Your Time) | $250 – $650 (Market Rate) |
| Safety | High Risk | OSHA-Compliant / Insured |
| Technology | Binoculars / Flashlight | Drones / Infrared / AI Analysis |
| Accuracy | Surface Level Only | Structural & Sub-surface |
| Insurance | Generally Not Accepted | Required for Claims |
Your roof acts as the primary shield for your home. Regular inspections help us identify minor wear before it evolves into a structural emergency. If you feel any uncertainty about what you see from the ground, we suggest consulting an expert immediately.
How to Know if You Need a Roof Replacement
Mastering the DIY Roof Inspection
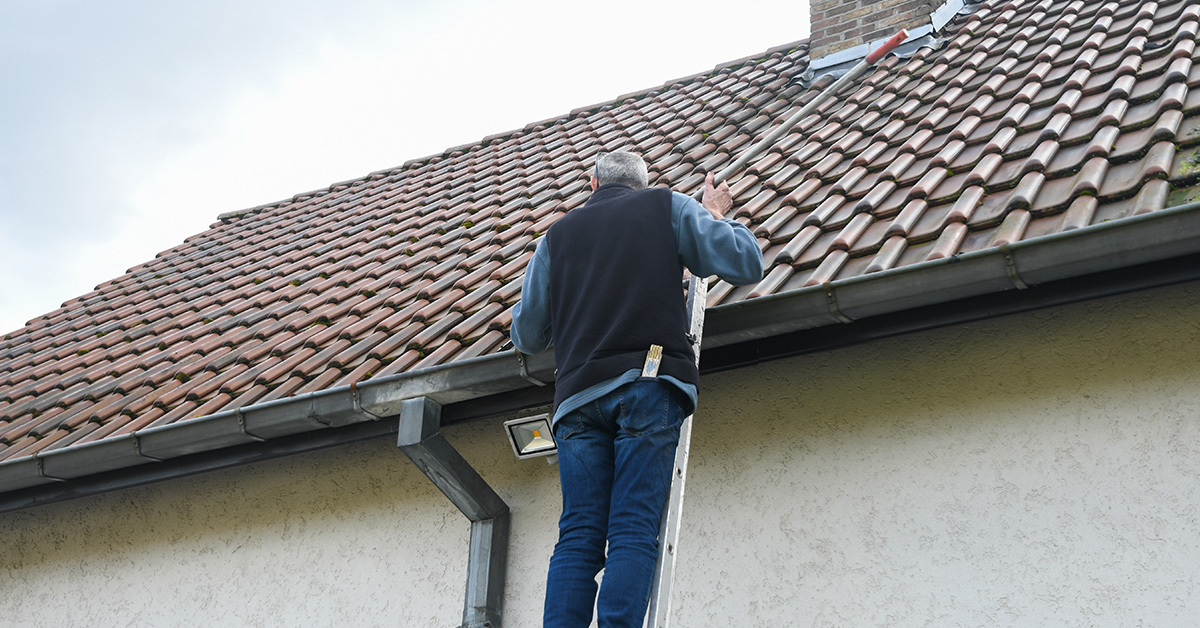
We recognize that many Tulsa homeowners prefer a hands-on approach to save money and stay informed. While a DIY check is a practical part of a maintenance routine, it is not without significant pitfalls. You must understand the specific tools and safety protocols required before you ever consider setting up a ladder.
What Is a DIY Roof Inspection?
A DIY roof inspection is a visual assessment where you look for obvious signs of wear or storm damage. We recommend starting with a “ground-up” approach: using binoculars to scan for missing shingles or damaged flashing from the safety of your yard. The goal is to identify immediate threats to your home’s interior.
Essential Tools and Safety Requirements
In 2026, safety technology for homeowners has improved, but the physics of a fall remains the same. Having the right gear is non-negotiable:
- Safe Access Equipment: Use a sturdy, multi-position ladder. It must extend at least 3 feet above the roofline and be secured on level ground.
- Personal Protective Equipment (PPE): We advise wearing non-slip boots and, if you are stepping onto the surface, a safety harness with a certified roof anchor.
- Diagnostic Tools: A high-powered flashlight is necessary for the attic, while a smartphone camera is vital for documenting findings.
- Attic Access: Do not forget to check the interior side of the roof deck for water staining or light peeking through.
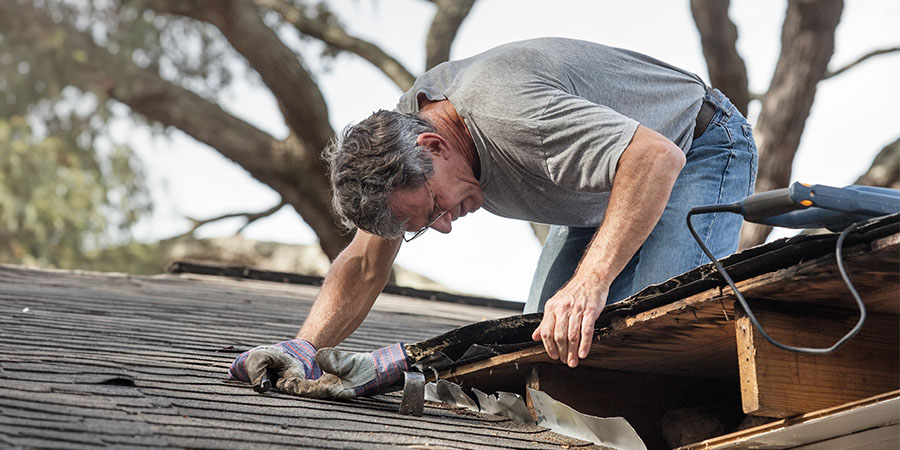
The Reality of DIY: Pros and Cons
| Advantages | Disadvantages |
|---|---|
| Zero upfront cost. | High risk of serious physical injury. |
| Immediate checks after a storm. | Hidden leaks often go undetected. |
| Personal knowledge of your property. | No official paperwork for insurance. |
The Value of Professional Roof Inspections
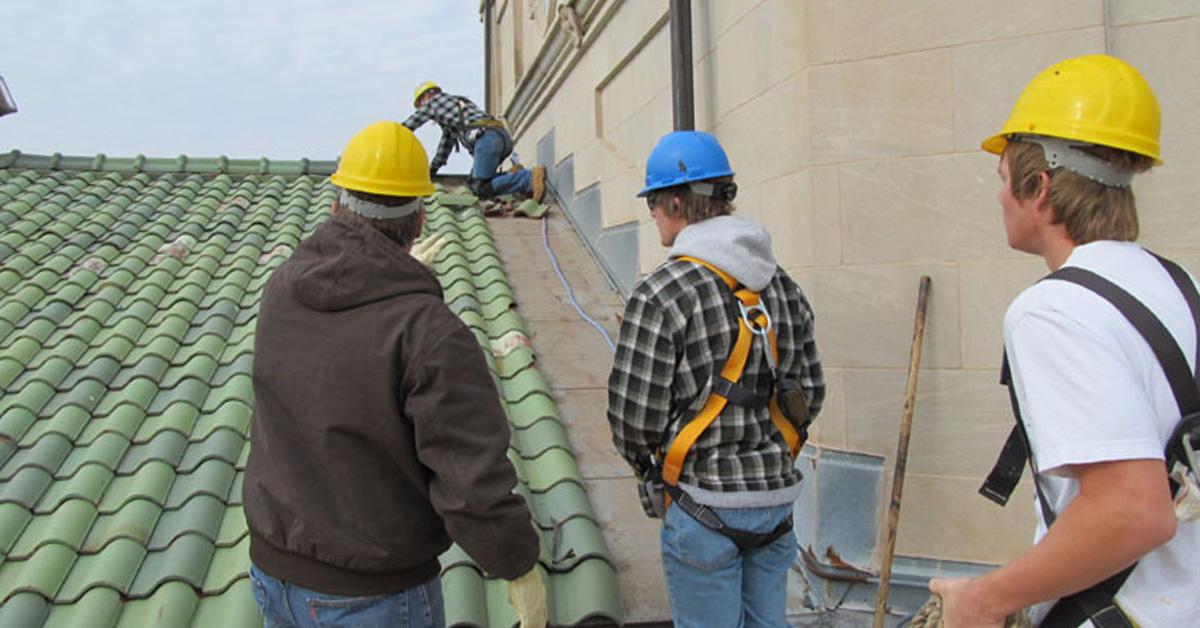
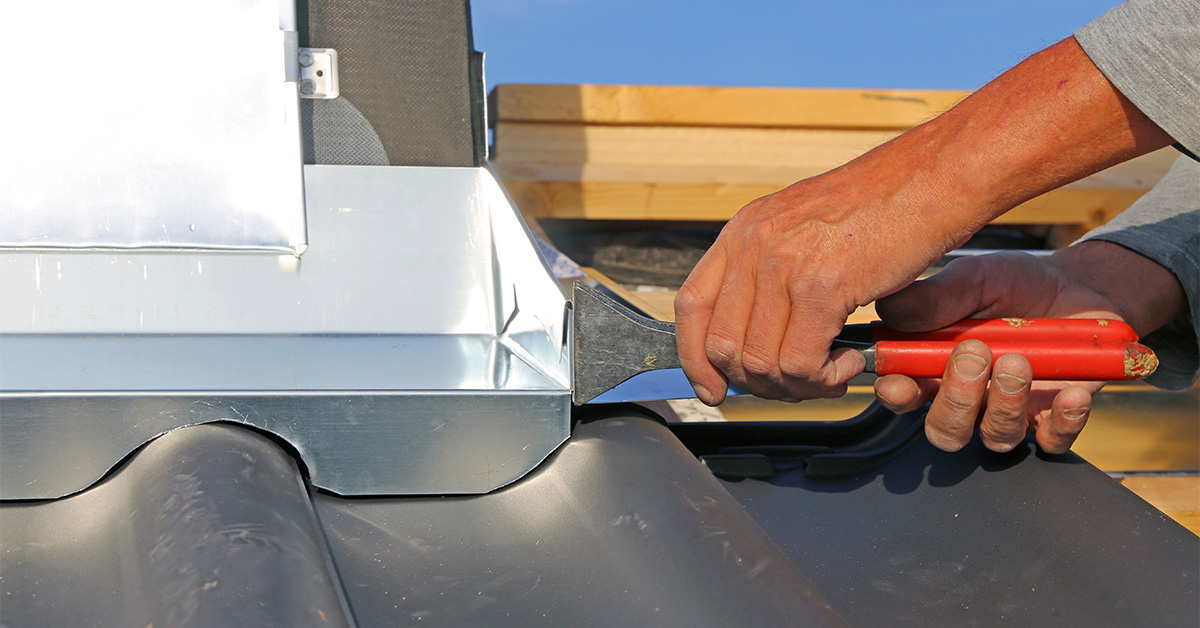
Hiring a professional contractor provides more than just a quick look at your shingles. It grants you access to specialized diagnostics and expert interpretations that a DIY effort simply cannot replicate. For our neighbors in Tulsa, a professional eye is the best defense against unpredictable weather.
Our Professional Inspection Process
A professional inspection is a comprehensive forensic analysis of your entire roofing system. We don’t just look for holes; we look for the cause of potential failure.
We utilize 2026-grade technology, such as:
- High-Resolution Drones: These allow us to see high-pitch areas without the risk of damaging shingles through foot traffic.
- Thermal Imaging: Infrared cameras allow us to “see” moisture trapped in the insulation or under-layers that isn’t visible to the naked eye.
- Structural Evaluation: We verify that your ventilation systems and attic supports are functioning to prevent premature roof aging.
Upon completion, you receive a comprehensive digital report. This document is essential for insurance claims and home appraisals.
Why Professional Expertise is Mandatory for Insurance
When you file a claim, insurance adjusters look for credible, third-party evidence. A DIY assessment carries no weight in these negotiations. Our professional reports include the specific measurements and photographic evidence required to expedite your claim and ensure you receive the full coverage you are entitled to.
Current 2026 Inspection Costs
In the current market, a standalone professional roof inspection typically ranges from $250 to $650. Prices vary based on the complexity of the roof, such as steep pitches or specialized materials like slate or clay tile.
However, we believe in proactive maintenance. Pro-Tech Roofing continues to offer comprehensive roof evaluations for Tulsa residents. This allows you to get an expert opinion on the health of your home without the initial financial barrier.
Choosing the Right Path: DIY vs. Professional
If you are still deciding which route to take, we have provided a detailed comparison of how these two methods perform under pressure.
| Feature | DIY Roof Inspection | Professional Roof Inspection |
|---|---|---|
| Accuracy | Focuses on obvious surface damage. | Detects sub-surface rot and mold. |
| Tools | Binoculars and ladders. | Thermal sensors, drones, and AI. |
| Coverage | Limited to what you can see. | Full structural and ventilation audit. |
| Time | 1 hour of manual labor. | 2-3 hours of expert analysis. |
| Safety | User-assumed risk. | Fully insured and bonded. |
When Should You Call Us?
While we encourage homeowners to keep an eye on their property, you should call a professional if:
- Your roof is older than 15 years.
- You have just experienced a hailstorm or wind speeds over 60 mph.
- You see active water spots on your ceilings.
- You are planning to sell your home.
Conclusion
Maintaining a healthy roof requires a hybrid approach. We recommend performing your own monthly visual checks from the ground to clear gutters and spot debris. However, these should never replace a periodic professional evaluation.
By catching small leaks early through expert detection, you can avoid the $15,000+ cost of a premature full replacement. We are here to ensure your home remains safe, dry, and valuable.
Summary of Advice
- Prioritize Safety: Never climb a roof during wet or windy conditions.
- Document Everything: Even for DIY checks, keep a folder of photos to show the progression of wear.
- Trust the Experts: When structural integrity is on the line, professional tools are the only way to be sure.
Frequently Asked Questions
What are the primary safety risks of a DIY roof inspection?
The most significant risks include falls from height, ladder failure, and heat exhaustion. To stay safe, we recommend working with a partner who can spot the ladder and avoiding any DIY work in wet or icy weather.
Why do insurance companies require professional inspections?
Insurers require a professional “standard of care” to validate that damage was caused by a specific weather event rather than neglect. Our reports provide the impartial, technical data they need to approve your claim.
Should I do both DIY and professional inspections?
Yes. We find that the most successful homeowners use DIY checks for “early detection” and professional inspections for “certified health checks.” This combination extends the life of your roof by years.