Tulsa winters are notoriously unpredictable, and they can be incredibly tough on your roof. Rapid temperature swings, heavy snowfall, and ice accumulation can quickly damage shingles, create leaks, and lead to expensive emergency repairs. Preparing your roof before the first freeze is the most effective way to protect your investment.
Note: This post was originally published in September 2025 and has been fully updated in 2026.
We recommend a proactive approach to winterization. Here is a quick checklist of the essential steps every Tulsa homeowner should take:
- Inspect Your Roof: Scan for cracked shingles, missing granules, or damaged flashing. Don’t forget to check your attic for light peeking through or water stains.
- Clean Gutters and Surfaces: Clear away leaves and moss to prevent water backups and ice dams.
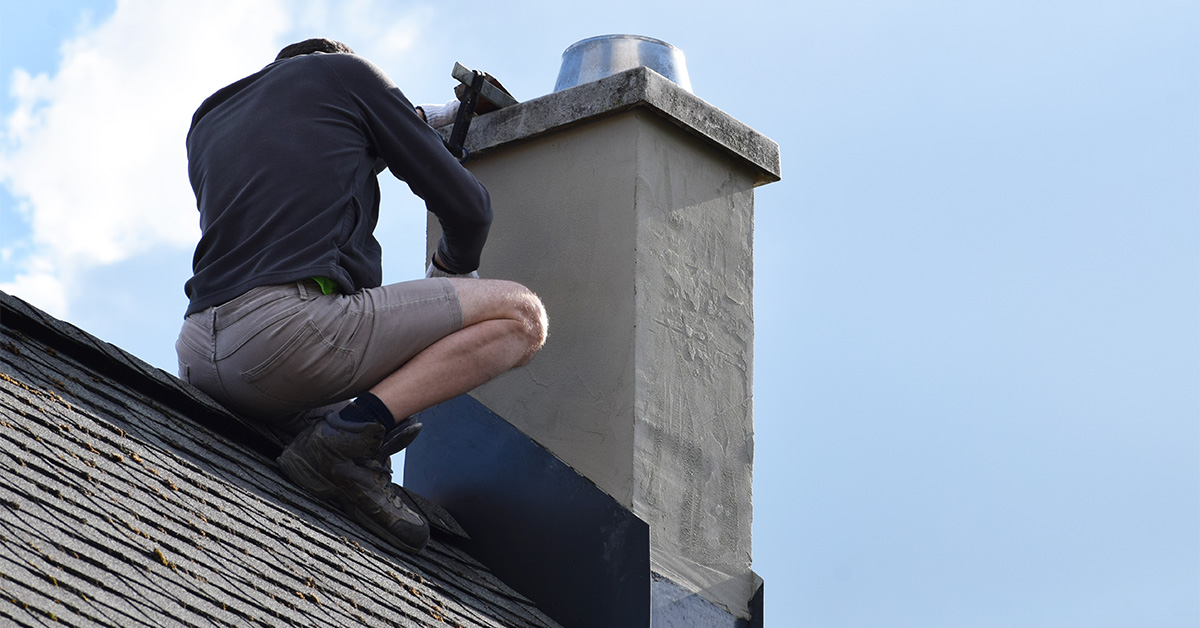
- Seal Vulnerable Points: Ensure chimneys, vents, and skylights are watertight with high-quality sealants.
- Optimize Insulation: Maintaining a cold roof surface is the best way to prevent ice dams.
- Snow Removal Prep: Have a roof rake ready to clear edges safely after a heavy storm.
Taking these steps today can protect your home from winter damage. For complex repairs or inspections, we suggest consulting with a professional roofing service like Pro-Tech Roofing in Tulsa.
6 Tips to Prevent Winter Roof Leaks
Tulsa’s Winter Weather Threats to Your Roof
Tulsa’s winter weather poses several specific threats to your roofing system. Our climate features a mix of heavy precipitation and “yo-yo” temperatures that can compromise even the sturdiest materials.
### **The Weight of Snow and Ice**
Even a few inches of snow can add significant weight to your structure. When that snow melts and refreezes into ice, the weight increases dramatically. This stress can lead to sagging roof decks or even compromised support beams in older Tulsa homes.
### **Thermal Expansion and Contraction**
Our region is famous for 60-degree afternoons followed by 20-degree nights. This rapid temperature flux causes roofing materials to expand and contract. Over time, this movement creates micro-cracks in shingles and loosens the fasteners or seals around your flashing.
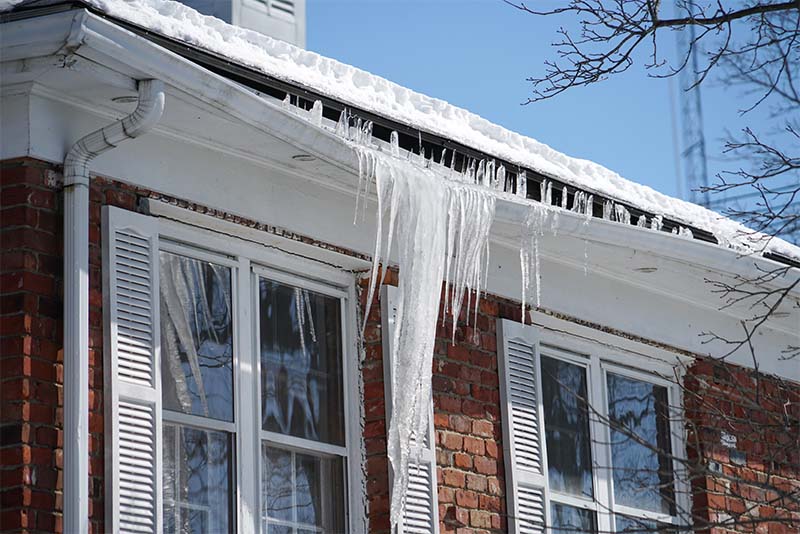
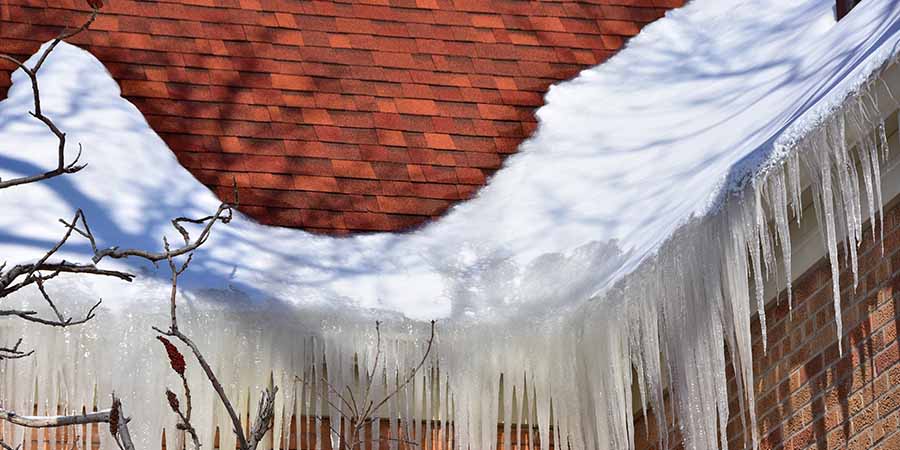
### **The Danger of Ice Dams**
Ice dams are arguably the greatest winter threat to Tulsa roofs. An ice dam is a ridge of ice that forms at the edge of a roof and prevents melting snow from draining. This trapped water backs up under shingles and leaks into your attic and walls.
Freezing rain only worsens the problem. The weight of ice buildup combined with strong winds can dislodge already weakened shingles.
How to Inspect Your Roof for Winter Damage
As we approach the winter season, a thorough roof inspection is your first line of defense. You do not necessarily need to climb a ladder to get an accurate read on your roof’s health. We recommend starting with a ground-level assessment.
Grab a pair of binoculars and scan your roof from various angles. Look specifically for “valleys”—the areas where two roof slopes meet. These are high-traffic zones for water and are usually the first places to show wear.
Check Shingles, Flashing, and Roof Valleys
Key takeaways for your visual inspection include:
- Shingles: Look for cracked, curling, or missing pieces. These are signs your roof needs attention before the cold sets in.
- Flashing: Inspect the metal flashing around chimneys and vents. Loose flashing is a primary cause of winter leaks.
- Attic Check: Use a flashlight in your attic to look for damp insulation or dark “trail” stains on the wood decking.
When to Call a Professional Roofer
If your home is multi-story or has a steep pitch, do not attempt a DIY inspection. Furthermore, if you notice significant damage, it is safer and more effective to have a professional assessment to determine if you need a minor repair or a full replacement before the snow hits.
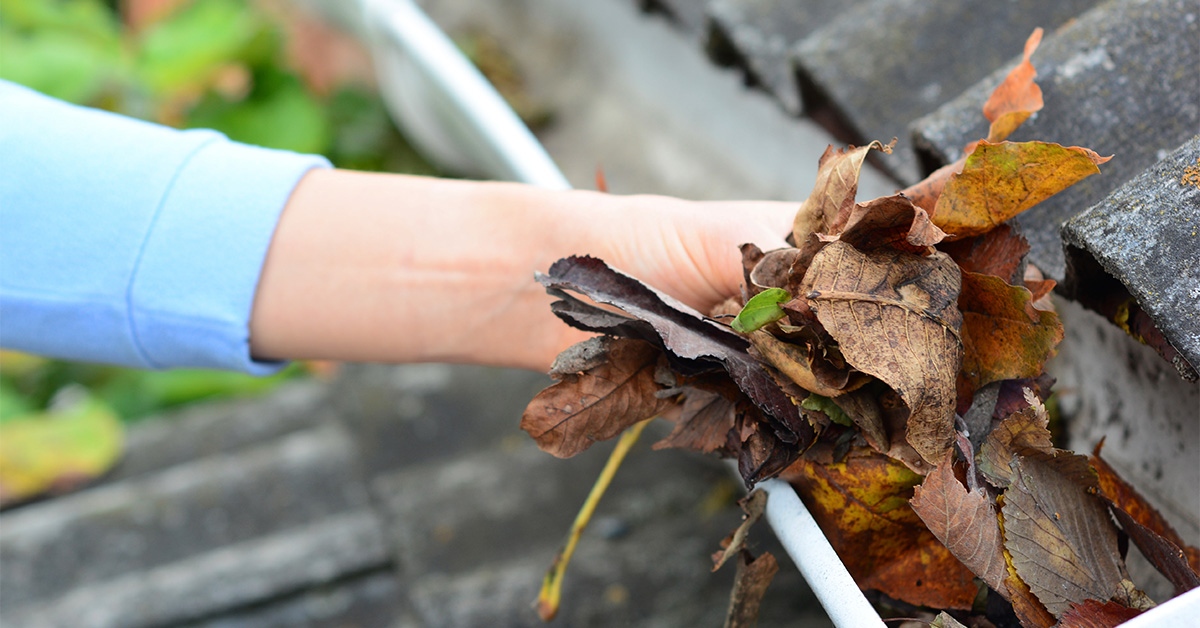
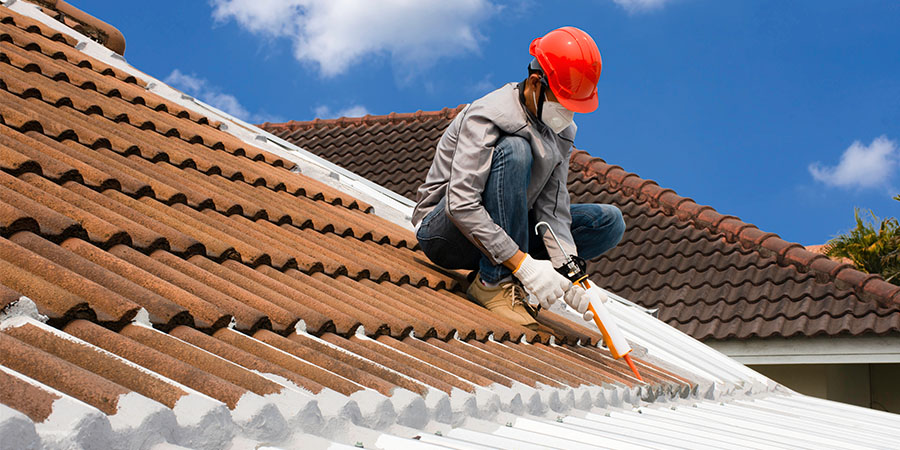
Clean Your Roof and Gutters Before Winter
Clear gutters are essential for protecting your home from Tulsa’s harsh winter conditions. When debris like leaves and twigs build up, they trap moisture against your roof’s edge, creating the perfect environment for rot and ice dams.
Safe Debris Removal
We recommend cleaning your roof on a dry, calm day. If you must get on the roof, ensure conditions are dry (above 45°F) and wear rubber-soled shoes. Start at the top and work your way down. Avoid pressure washers, as the high-intensity spray can strip away protective granules and ruin your shingles.
Clean and Inspect Your Gutters
Clogged gutters are a major cause of ice dams. Use a gutter scoop to remove muck, then flush the system with a hose to ensure water flows freely. We suggest checking these three things:
- The Slope: Water should move smoothly toward downspouts without pooling.
- Downspout Clearance: Ensure water exits at least 6 feet away from your foundation to avoid basement flooding.
- Structural Integrity: Tighten loose brackets now, as the weight of winter ice can pull sagging gutters right off your house.
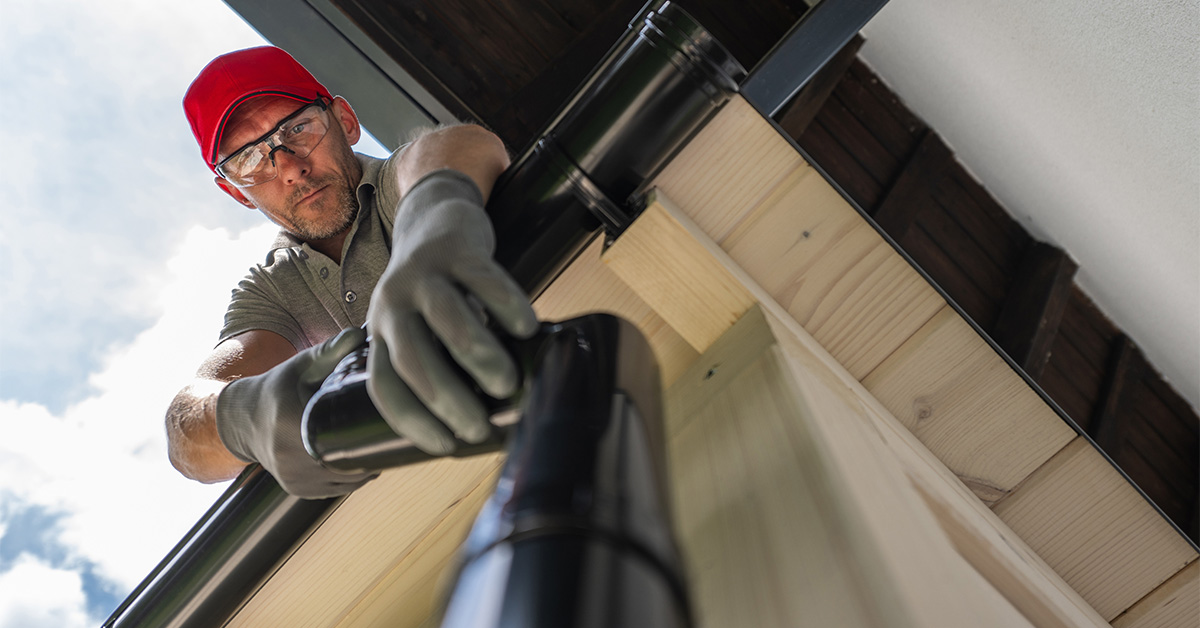
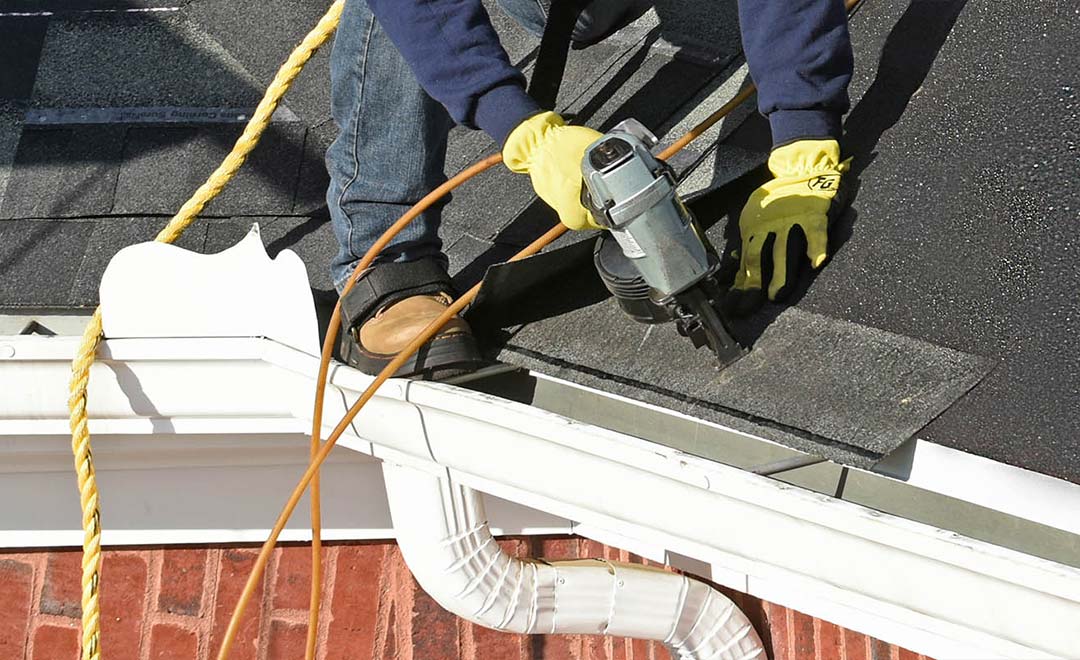
Seal and Repair Problem Areas
Once surfaces are clean, we must focus on sealing “penetration points.” Addressing these issues now helps shield your home from water damage during the freeze-thaw cycles.
Seal Around Chimneys, Vents, and Skylights
Check for separations where metal flashing meets the chimney. For larger gaps, use flashing tape paired with high-quality polyurethane caulk. Inspect plumbing vents and replace rubber boots if they show signs of sun-rot or cracking.
Best Weatherproofing Products for Tulsa
In 2026, we recommend polyurethane-based sealants over traditional silicone. Polyurethane remains flexible during extreme temperature swings (ranging from 90°F to 20°F) and resists UV damage. Avoid silicone for roofing, as it does not accept paint well and can complicate future repairs.
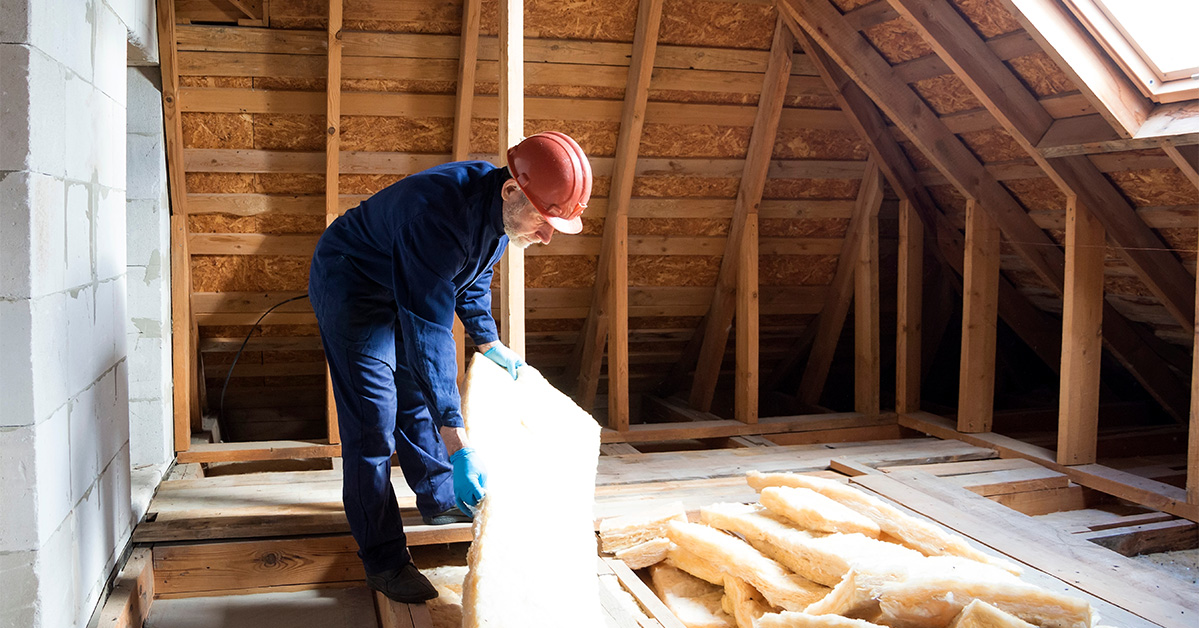
Improve Insulation and Stop Ice Dams
A warm attic is the enemy of a winter roof. To prevent ice dams, your attic should be as close to the outdoor temperature as possible. This requires a combination of high-grade insulation and robust ventilation.
Add More Attic Insulation
In 2026, the recommended standard for Tulsa homes is an R-value of at least **R-38**. This keeps your home’s heat inside the living space. Before adding more, use spray foam to seal air leaks around pipes, wiring, and attic hatches.
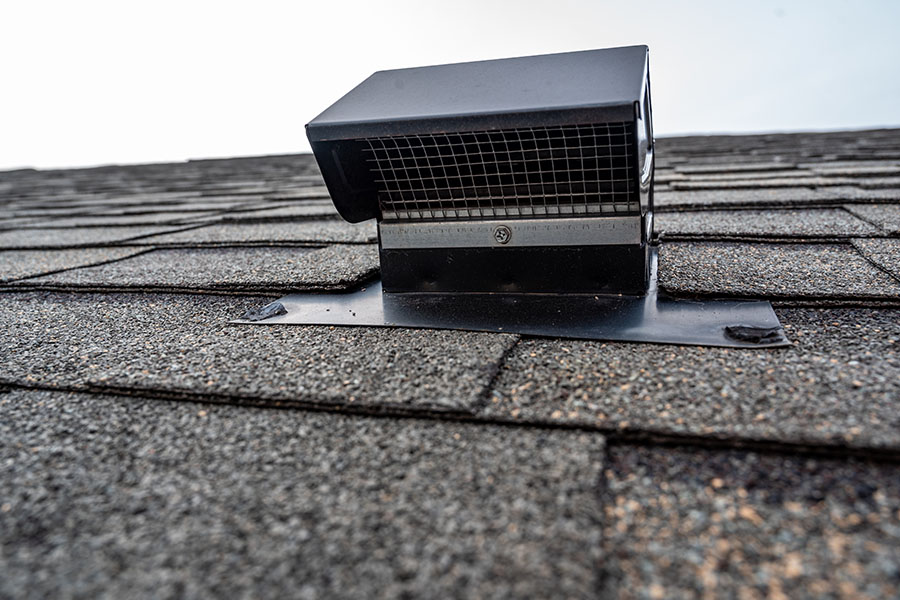
Install Proper Roof Ventilation
Effective ventilation allows cold air to enter through soffit vents and exit through ridge vents. This constant flow prevents the hot spots that cause snow to melt and refreeze. A common guideline we follow is one square foot of ventilation for every 150 square feet of attic space.
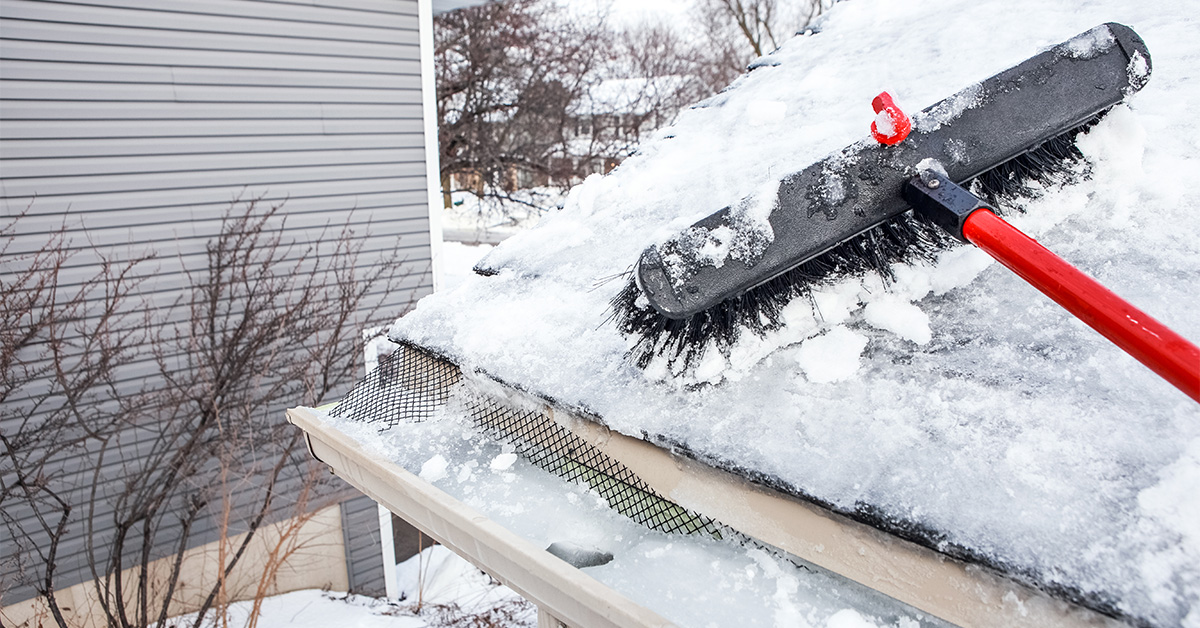
How to Safely Remove Snow from Your Roof
If we experience a heavy blizzard, use a telescoping roof rake to clear the bottom 4 to 6 feet of snow along the eaves. You do not need to remove all the snow; just reducing the buildup at the edges significantly lowers the risk of damming. Never climb onto the roof in winter—it is simply not worth the risk of injury.
Get Professional Help from Pro-Tech Roofing
Since 2003, our team at Pro-Tech Roofing has served the Northeast Oklahoma area, including Broken Arrow, Jenks, and Owasso. We understand the specific demands that Tulsa weather puts on a home.
We offer comprehensive winter prep, from attic insulation audits to certified repairs. As a GAF and Owens Corning certified contractor, we use materials designed to last through the next decade, not just the next season.
Our customers often notice an immediate difference. As David Nasr noted: “It is incredible the difference it makes in terms of temperature inside the house when the ridge vent is added.”
Don’t wait for winter to create costly problems. Schedule your free inspection today and take the first step toward safeguarding your home.
FAQs
How can I tell if my roof is at risk for winter weather damage without climbing on it?
A roof at risk usually shows visible signs of aging from the ground. Look for curling shingles, missing granules in your downspouts, or damaged shingles. If you see water stains on your interior ceilings, your roof is already vulnerable and needs attention before the first snow.
What’s the safest way to remove snow from my roof without damaging it or risking injury?
The safest method is using an extendable roof rake while standing securely on the ground. Clear the edges and work your way up about 4 feet. Do not scrape all the way down to the shingle; leaving 2 inches of snow prevents the rake from damaging the protective granules.
Why should I improve attic insulation and ventilation before winter, and how does it help prevent ice dams?
This combination is the only way to stop ice dams. Insulation keeps your heat in your living space, while ventilation keeps the roof deck cold. This prevents the melt-and-freeze cycle that forces water under your shingles and into your home.