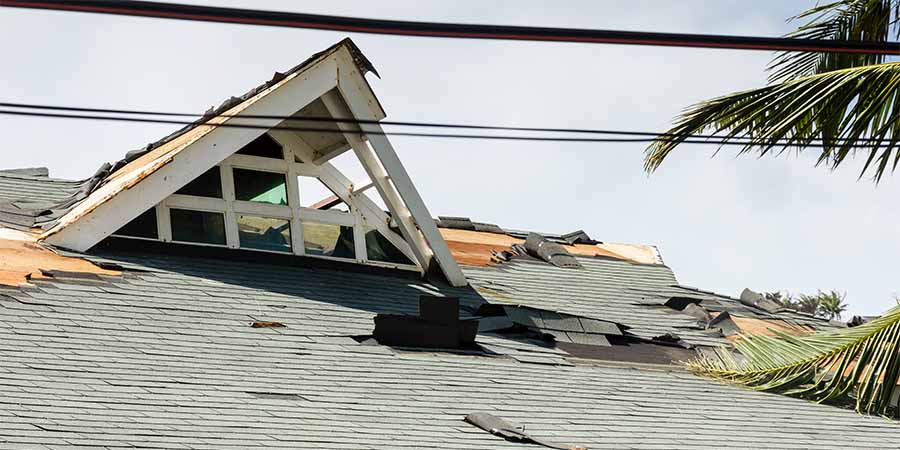
When a storm hits, your roof often takes the hardest impact. High winds, hail, and heavy rain cause both visible and hidden damage. Acting quickly – ideally within 24–48 hours – is the best way to prevent small issues from turning into costly structural repairs.
Note: This post was originally published in December 2025 and has been fully updated in 2026.
### **Key Takeaways for Post-Storm Safety**
- Safety First: We recommend avoiding wet or damaged roofs. Inspect from the ground with binoculars or hire a professional.
- Identify Damage: Look for missing shingles, hail dents, and damaged flashing. Check gutters for granule buildup.
- Check the Interior: Scan your attic for water stains, damp insulation, or mold.
- Document Everything: Take clear, date-stamped photos and notes for your insurance claims.
- Call the Experts: If you see structural sagging or extensive leaks, you need a professional assessment immediately.
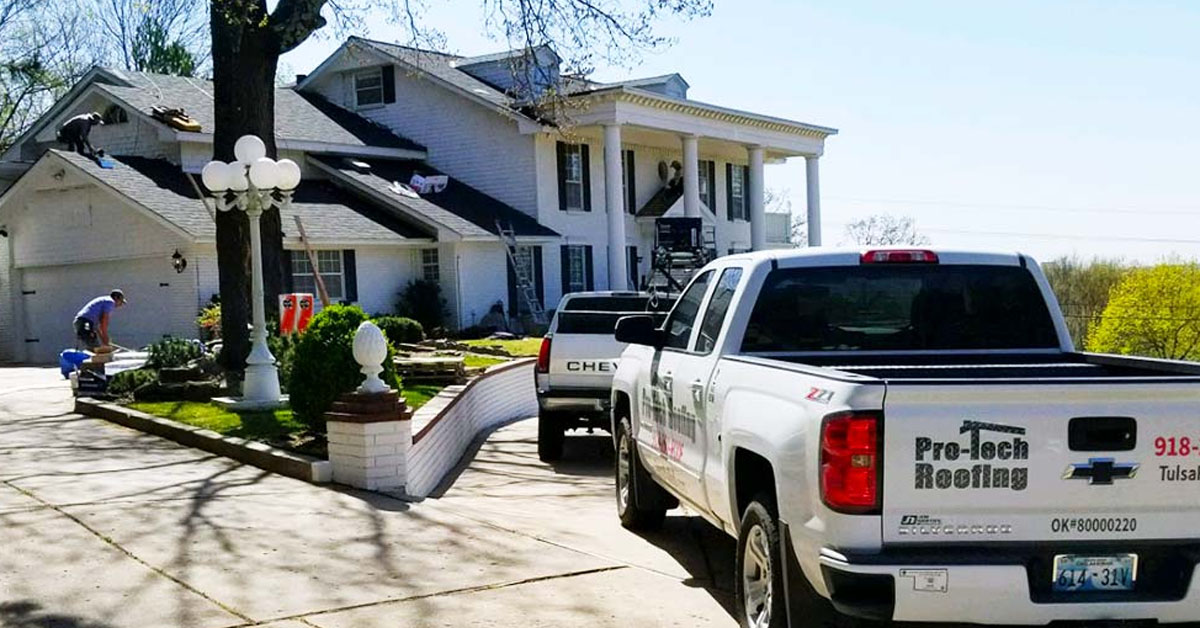
For thorough inspections and insurance support, professional roofing contractors like Pro-Tech Roofing are here to help. We prioritize your safety and help you streamline the claims process.
Why Roof Inspections Matter After Hail Storms
A hail storm is more than just a loud event; it is a significant threat to your home’s longevity. We find that even small hailstones can bruise shingle mats, leading to leaks months down the road.
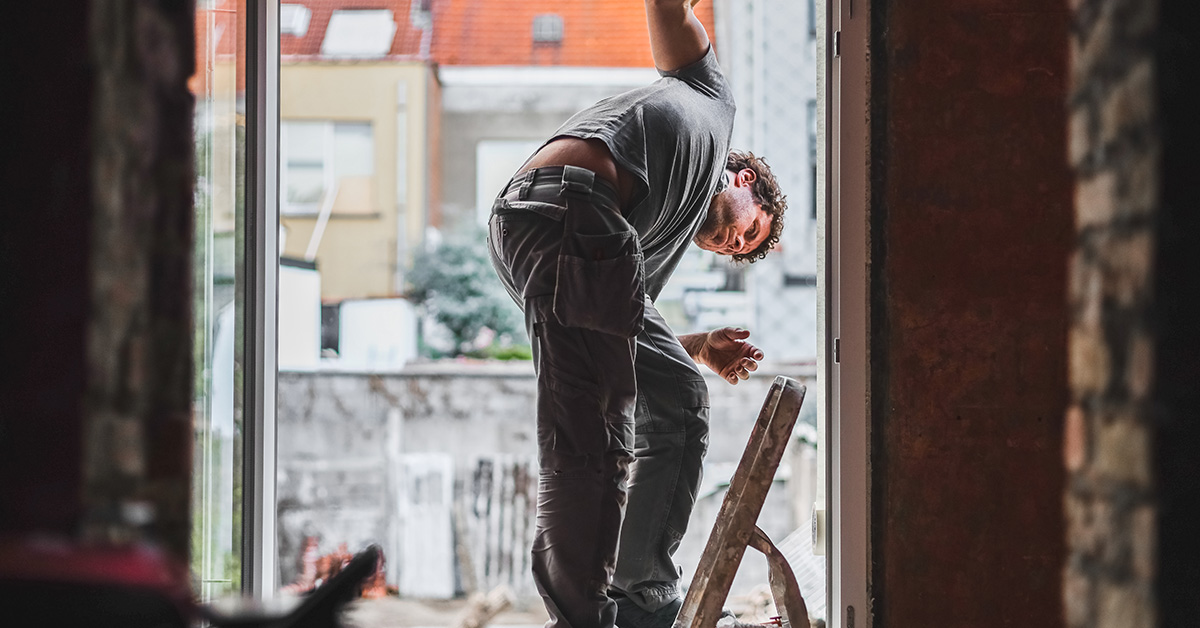
Critical Safety Precautions for Homeowners
Before we check for storm damage, we must prioritize safety. Roof-related accidents are common, but risks like electrical hazards and unstable structures are just as dangerous in 2026.
Assessing Roof Safety Conditions
Your first step is determining if the roof is stable. Walk around the property and inspect the rooflines from the ground. **We look for sagging or uneven lines**, as these signal structural issues that make climbing lethal.
If you notice dips or bows, stop immediately and call us.
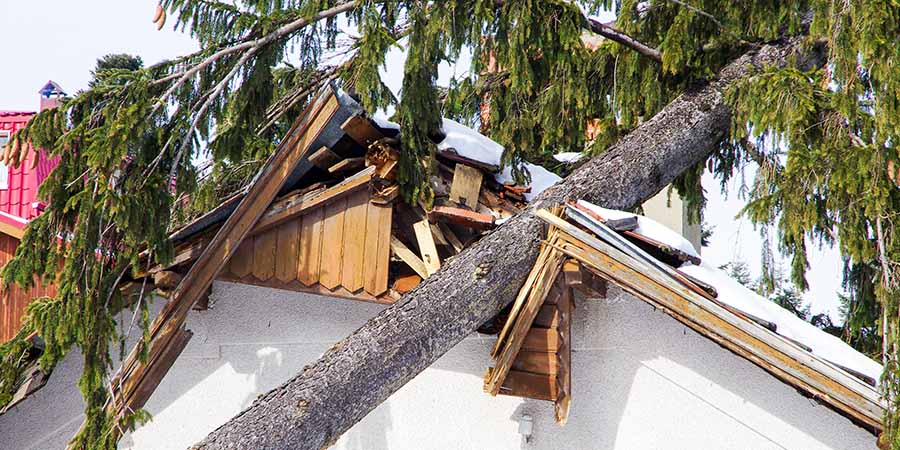
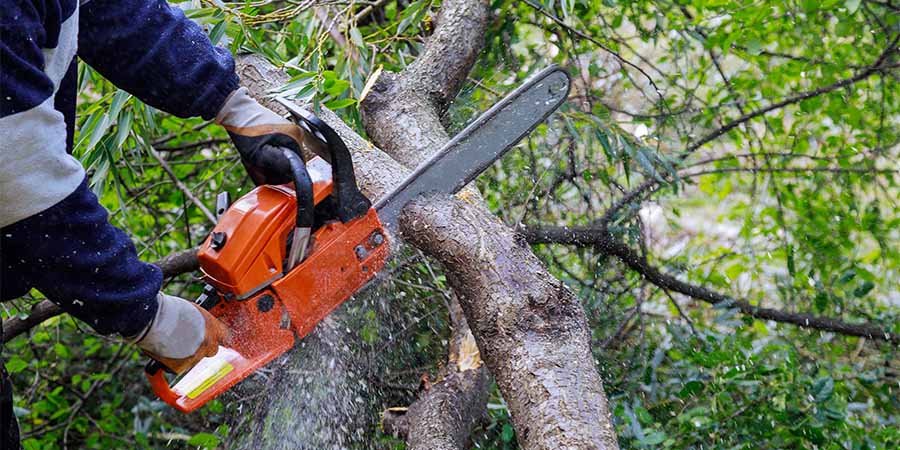
Debris like large branches can signal compromised decking. Moving these items yourself could worsen the damage. Additionally, **always check for downed power lines**. These are electrical hazards that utility companies must address before we begin any inspection.
Weather conditions are vital for safety. We avoid inspections during high winds or rain. Even morning dew makes shingles hazardous. Wait for dry, calm weather before using a ladder.
If your roof has a steep pitch – defined as more than 8 inches of rise for every 12 inches of horizontal distance – climbing is too risky without specialized 2026-grade safety equipment.
Essential Safety Gear and Tools
For ground-level checks, you only need basic tools. **Binoculars are excellent for examining details from afar**. They allow you to spot missing shingles or dented metal without leaving the ground.
Use your smartphone to document damage from all angles. Keep a notepad handy to jot down observations for insurance adjusters.
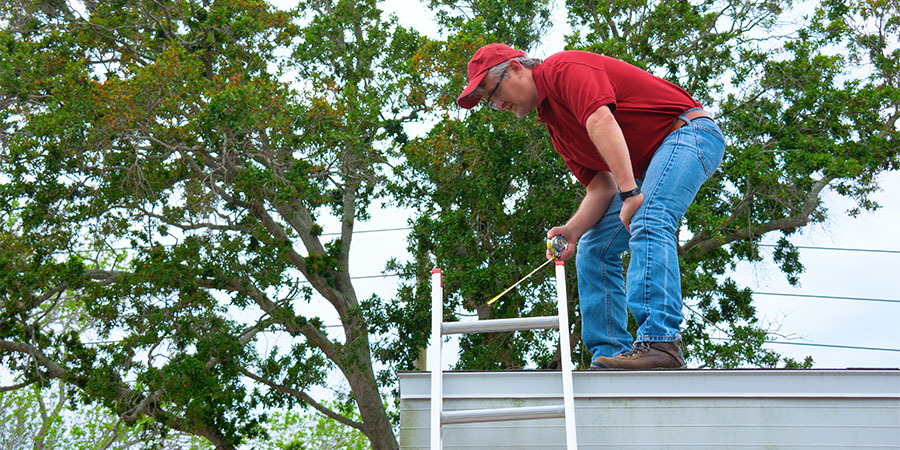
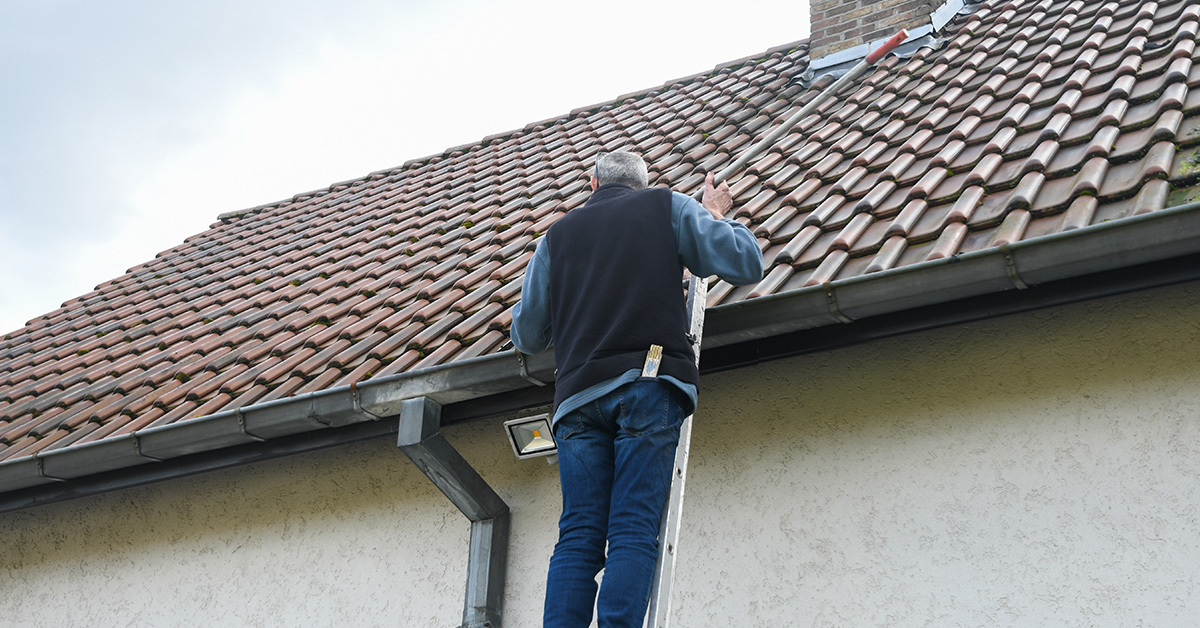
If you must use a ladder for inspecting gutters, choose an extension ladder rated for your weight plus 250 pounds. **Wear non-slip footwear** at all times. A high-lumen flashlight is helpful for checking dark areas like the attic or under eaves.
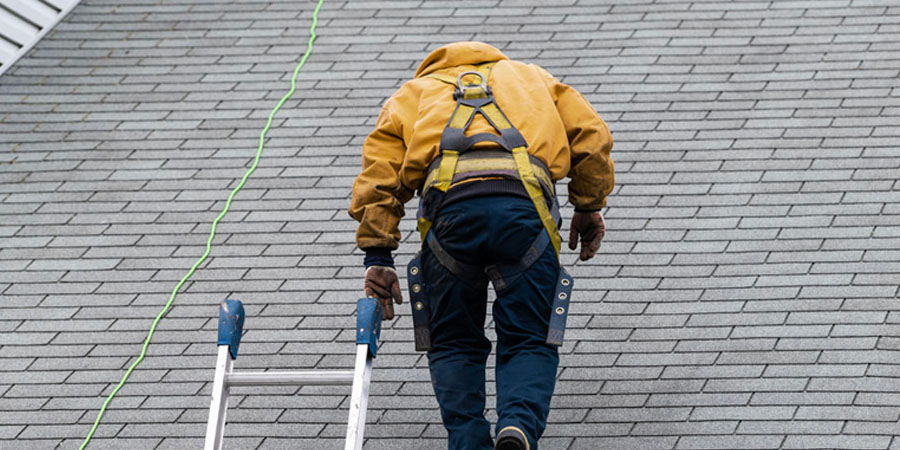
We generally do not recommend homeowners climb onto the roof. It requires a safety harness, anchor points, and a hard hat. Most homeowners lack this training, making professional inspections the only logical choice for elevated areas.
When to Call a Professional Immediately
Certain situations require skipping the DIY approach entirely. **Visible structural damage, such as cracked decking or bowed support beams, must only be handled by pros**. Walking on a weak roof can lead to a total collapse.
Significant water intrusion, such as mold or rotting wood in the attic, indicates long-term issues. These problems often mean the roof’s framing is compromised.
If hail damage is severe, we recommend a professional inspection to ensure your insurance documentation is accurate. In 2026, many insurers require a certified report to validate high-value claims.
How to Conduct a Ground-Level Assessment
Once we are certain it is safe, we start the roof inspection from the ground. This keeps you out of harm’s way while identifying major concerns.
Identifying Shingle and Structural Damage
We look for irregularities on the roof surface. These often hint at hidden problems that start small but grow quickly.
Missing shingles expose the deck. Shingles that are lifted or curled indicate wind damage. Hail damage often leaves distinct dent patterns, appearing as dark spots or “bruises.”
If these are scattered across different slopes, the damage is likely widespread. We also look for missing granules, as these areas are more vulnerable to UV rays and water infiltration.
Inspecting Gutters and Exterior Features
We clear debris from gutters and check for excessive granules. While some granule loss is normal, a heavy buildup after a storm means your shingles have deteriorated.
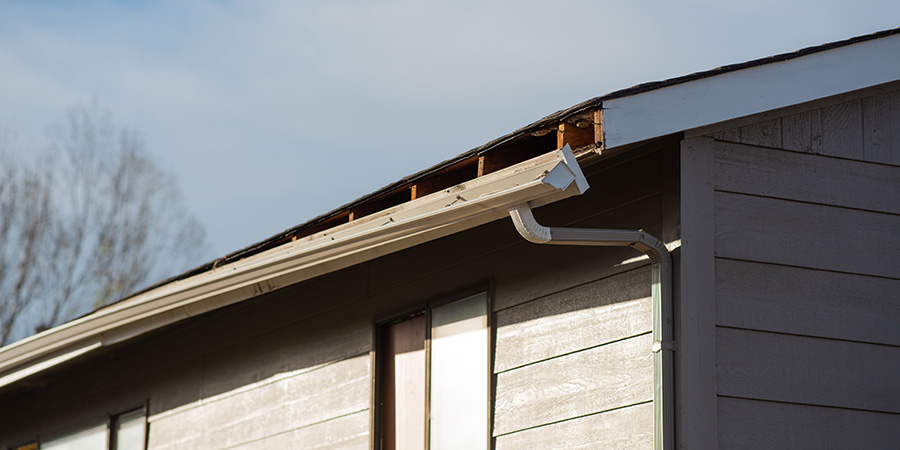
Check your gutters for dents or holes. If they are pulling away from the fascia, they may have taken a direct hit. Ensure your downspouts direct water at least 5-6 feet away from your foundation.
We also examine the flashing. Look for separation or rust around chimneys and vents. Even small flashing issues lead to major interior water damage. Check roof vents and skylights for cracked glass or dented frames.
Documenting Visible Damage for 2026 Claims
We take photos from all sides. Capture wide shots and close-ups. Use a ruler in your photos to provide scale for hail dents.
Create a written record. Use specific descriptions like “north side near chimney.” Note the type of damage and the date of the inspection.
Videos are also helpful for providing context to insurance adjusters. They show how different damaged areas are connected across the property.
Checking for Interior Storm Damage
Water is sneaky. It travels along rafters and insulation, leaving damage far from the actual leak source. We check the attic and upper floors within 24-48 hours of any major storm.
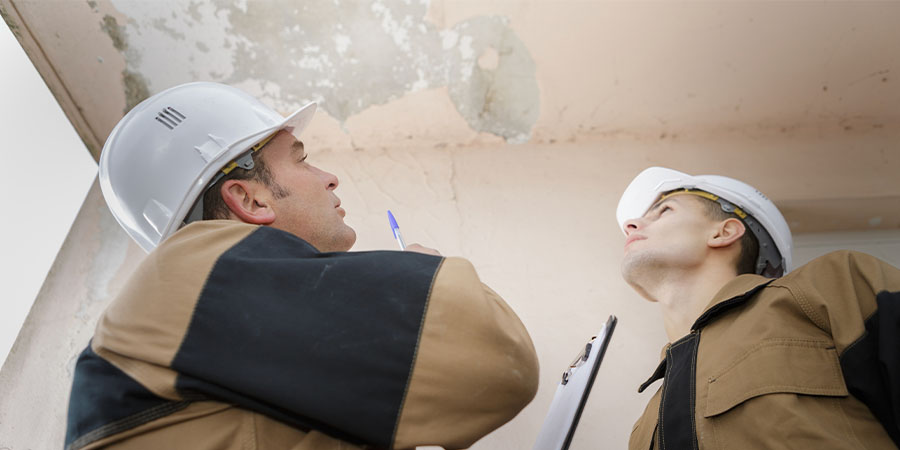
Signs of Water Damage in the Attic
We grab a flashlight and wear sturdy shoes. **Look for water stains** on rafters. These yellow or brown rings show where water seeps into the structure.
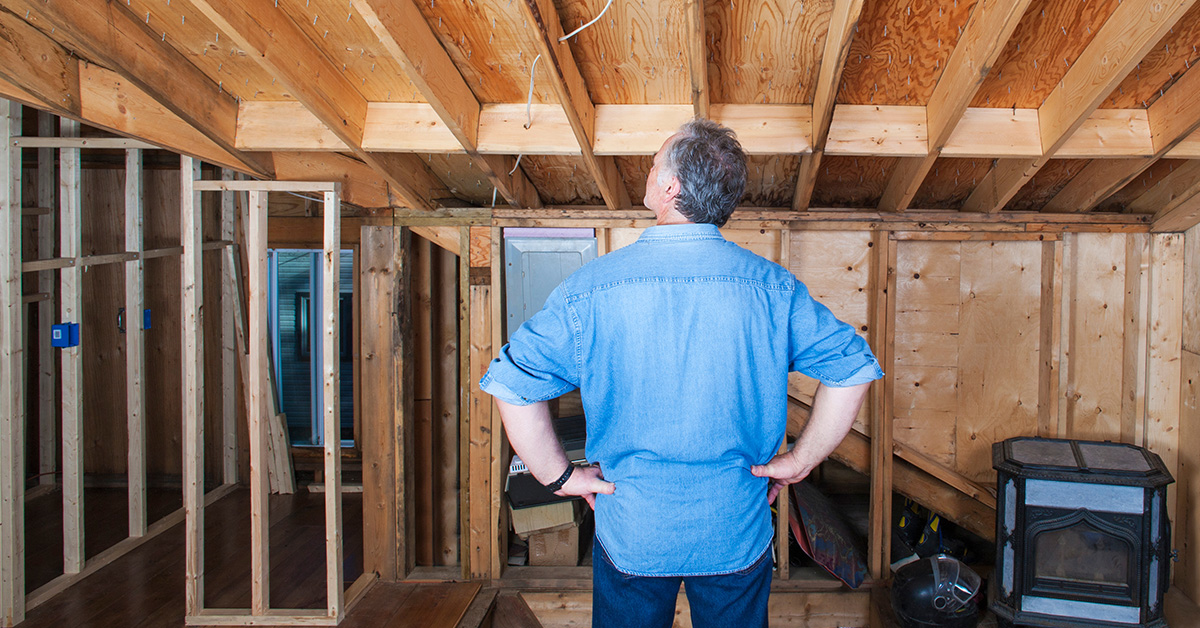
**Wet or compressed insulation** is a major red flag. If it is damp, you have active water intrusion. This environment is perfect for mold growth, which often appears fuzzy and smells musty.
Pay close attention to areas beneath roof penetrations like vents or chimneys. If the attic is difficult to access, we recommend calling us for a professional look.
Inspecting Ceilings and Walls
We walk through the top floor checking for **peeling or bubbling paint**. When water seeps behind paint, it weakens the bond. Watch for **discoloration around light fixtures** or exhaust vents.
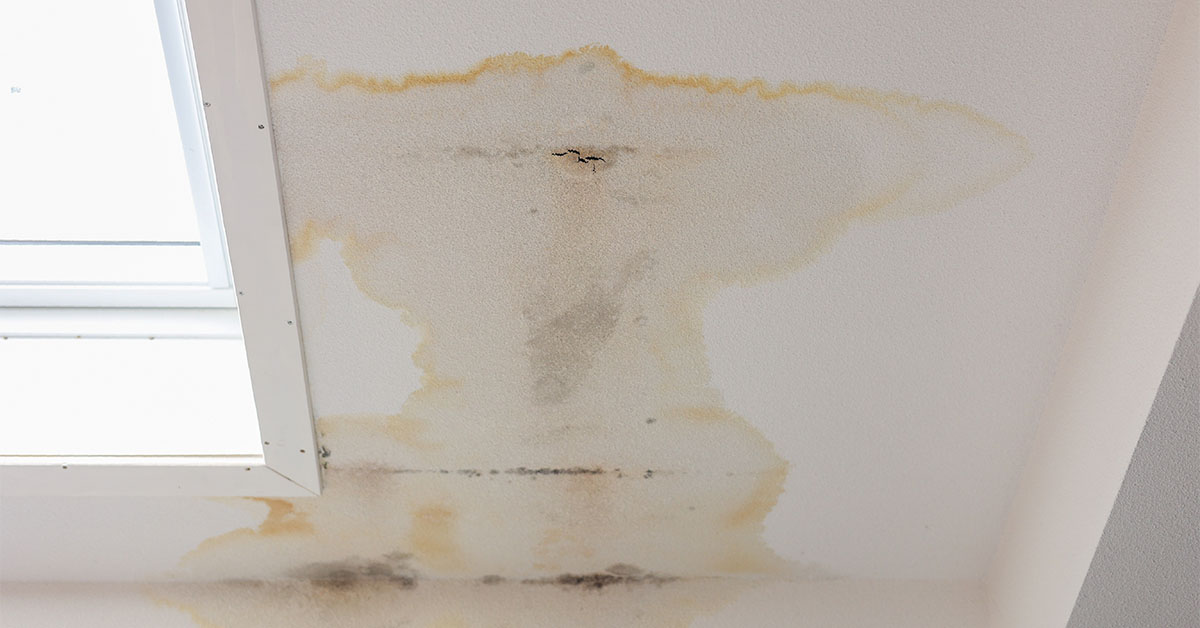
Check for **soft spots or sagging** by gently pressing the ceiling. Spongy areas indicate water accumulation and need immediate professional attention. Ignoring this could lead to a ceiling collapse.
Specialized Roof Components
We must examine flashing, vents, and chimneys. These are the most vulnerable parts of your roof during a storm.
Flashing and Chimney Inspection
Flashing consists of thin metal strips that direct water away from joints. Storms cause these to lift or crack.

Look for gaps between the flashing and the chimney. Check for rust or missing caulking. We also examine skylight seals for separation.
“I had personally patched the flashing around our outdoor fireplace since it was leaking, and Larry made sure that the crew was instructed to make every effort to correct and it no longer leaks.” – hAWK Capital
Ridge Caps and Pipe Penetrations
Ridge caps cover the peak of your roof. High winds can tear these away. Use binoculars to check the ridge line for missing pieces or lifted edges.
Damaged ridge vents cause moisture buildup and can lead to ice dams in colder months.
“It is incredible the difference it makes in terms of temperature inside the house when the ridge vent is added. My previous roofer did not add appropriate ventilation, which caused my roof to get damaged and need replacement prematurely.” – David Nasr BS&B

Check the rubber boots around plumbing stacks. In the 2026 climate, these boots can dry out and crack quickly, creating an easy path for water. Inspect HVAC collars for compromised seals as well.
Why Hire a Professional Roofing Contractor?
A DIY inspection is risky. Falls are a constant danger. Professional contractors use 2026 technology and expertise to find damage you might miss. We examine roof felt, decking, and ventilation to ensure your home is protected.

Signs You Need Professional Help
- Sagging roof sections or soft spots.
- Widespread missing shingles.
- Large tree branches resting on the roof.
- The need for detailed insurance documentation.
“We recently had several days of rain, and my roof began to leak. Did a lot of research, and Pro-Tech Roofing had good reviews so we went with them. They very quickly had someone out there on the roof to see what the issue was. I had flashing that needed replaced.” – Jessica Elmore
How Pro-Tech Roofing Can Assist
We provide free roof inspections in the Tulsa area. Our team evaluates everything from asphalt shingles to metal roofing.
We look for hidden leaks and compromised seals. As an A+ rated business with the Better Business Bureau, we understand Oklahoma’s specific weather patterns.
“Pro-Tech did an excellent job in reflashing my leaking skylight that two other Companies failed to recommend.” – Rich J
Documenting Damage for Insurance
Your claim success depends on the quality of your records. We help you build a case that insurance adjusters cannot ignore.
Best Practices for Documentation
Start within 24-48 hours. Take wide shots and close-ups. **Identify the specific location** of every issue.

Maintain a digital and physical folder. Include receipts for any emergency repairs, like tarping. Avoid discarding damaged materials until the adjuster sees them.
Working with Adjusters
Contact your insurer within 30 days. We recommend having a contractor present during the adjuster’s visit. We use industry terminology to explain the damage, which helps you secure a fair settlement.
“Larry Wilson at Pro-Tech inspected the roof and took time to come back and meet with the insurance adjustor before we even hired him for the job. Larry is a seasoned roofer and knows how to mitigate the red tape.” – Theresa
Conclusion
A post-storm inspection cannot wait. Small problems like missing shingles turn into structural rot if ignored. While ground-level checks are a great start, never risk your safety on a damaged roof. Rely on the professionals.
If you are in the Tulsa area, Pro-Tech Roofing is here to help. We offer free inspections to protect your home and ensure your claim is accurate.
FAQs
What steps should I take to stay safe before inspecting my roof?
**Your safety is the top priority**. Survey the property for downed power lines and loose debris. Never climb a slippery or damaged roof. If you have doubts, call a professional roofing service.
What is the best way to document roof damage?
Take **clear, high-quality photos** from multiple angles. Maintain a record of the storm date and weather reports. Document interior stains as well. A **professional roof inspection** report is the best way to strengthen your claim.
When should you hire a professional?
Hire a roofing professional after any event involving hail or high winds. We spot subtle leaks and weakened shingles that homeowners often miss.