
When storms hit, roof leaks can quickly lead to costly damage. Water intrusion affects your home’s structure, insulation, and even its resale value. Acting fast is key to minimizing repairs and protecting your home. Here’s a quick guide to handle roof leaks effectively:
| Quick Summary | What to Do |
|---|---|
| Step 1: Spot leaks safely | Inspect your attic and ceilings for water stains or musty smells. Use a flashlight to find wet areas. |
| Step 2: Protect belongings | Move furniture and cover items with plastic sheeting. Drain bulging ceilings to prevent collapse. |
| Step 3: Use a tarp | Cover damaged roof sections with a heavy-duty tarp to stop water from entering. |
| Step 4: Clean gutters | Remove debris to prevent water buildup and check for shingle granules. |
| Step 5: Document damage | Take photos and notes for insurance claims and future repairs. |
| Step 6: Call a pro | Schedule a free inspection with a licensed roofing contractor to assess hidden issues. |
| Step 7: Plan maintenance | Schedule routine inspections and maintenance to keep your roof in good condition to avoid future problems. |
What Storms Do to Your Roof and How to Fix It | Storm Ready
sbb-itb-66ccccd
How Storms Damage Your Roof
Understanding how storms can harm your roof helps you take the right steps to avoid leaks and more serious issues.
Common Types of Storm Damage
Storms create vulnerabilities in your roof, often leading to water intrusion. Wind damage happens when gusts reach speeds of 50 mph or more, causing shingles to lift, curl, or even tear off entirely. This exposes the underlayment and roof deck, making them vulnerable to rain.
Hail damage leaves behind dents and bruises on shingles, while also knocking off the granules that protect your roof. After a hailstorm, check your gutters for granule buildup – this is a clear sign of damage.
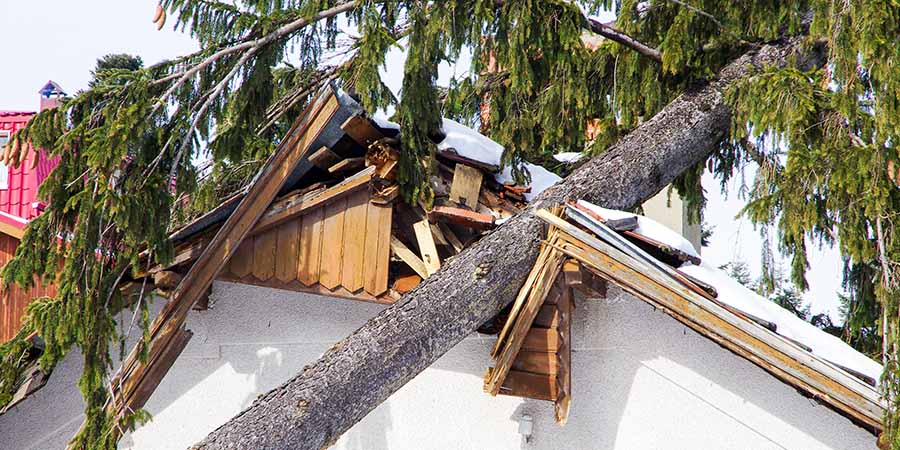
Falling trees and branches can cause immediate and obvious destruction. They may puncture the roof, crack shingles, or even deform the rafters and trusses underneath. Heavy rains can overwhelm your roof, leading to leaks and water stains on your ceiling. In colder climates, ice dams form when melting snow refreezes along the edges of your roof, forcing water back under your shingles.
| Damage Type | Visual Signs | Long-Term Risks if Unfixed |
|---|---|---|
| Wind | Missing or curled shingles, loose flashing | Water intrusion, deck rot |
| Hail | Dents, dark spots from granule loss, bruises | Faster shingle wear, eventual leaks |
| Impact | Punctures, broken shingles, sagging roofline | Structural failure, interior flooding |
| Water | Brown stains on ceilings, musty smells | Mold, ruined insulation, structural rot |
| Snow/Ice | Large icicles, cracked ceilings, sticking doors | Roof collapse, water damage from ice backup |
Spotting these signs early can help you act before the damage worsens.
Why You Need to Act Fast
When it comes to storm damage, quick action is key. Ignoring these problems allows them to escalate. For example, mold and mildew can start growing within just 24 to 48 hours of water exposure. Soaked insulation loses its ability to keep your home energy-efficient, and if water damages your roof decking, the sagging may become permanent.
If over 25% of your roof is damaged, replacing the entire roof might be more cost-effective than patching it up. It’s also vital to report storm damage to your insurance company within 24 to 48 hours. Waiting too long could lead to claim denials due to "neglect".
"If more than a quarter of your roof shows damage, it might be smarter to replace it entirely rather than patching it up."
– Joseph Elshazly, President, Rapid Restoration Group
If you’re in Tulsa and need a professional opinion, Pro-Tech Roofing provides free inspections at their 1107 N 105th E Ave, Tulsa, OK location. Acting quickly can protect your home, prevent mold, and save you from costly repairs down the road.
Step 1: Find and Manage Roof Leaks Safely
How to Spot a Roof Leak
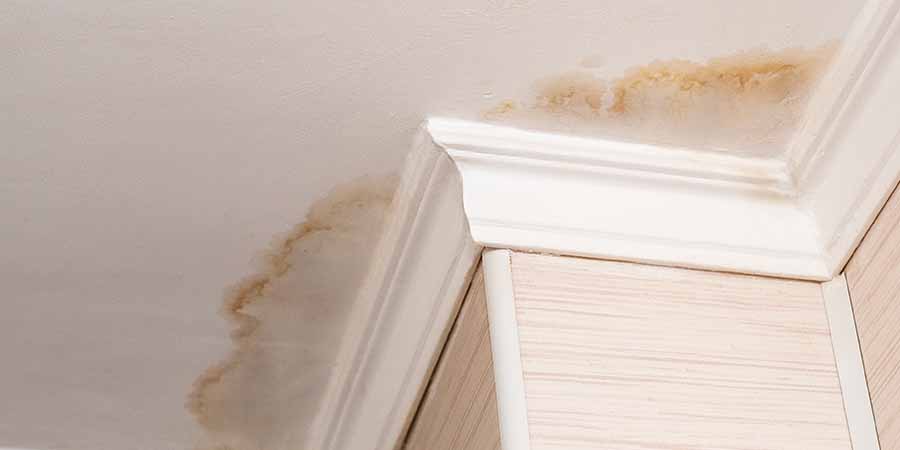
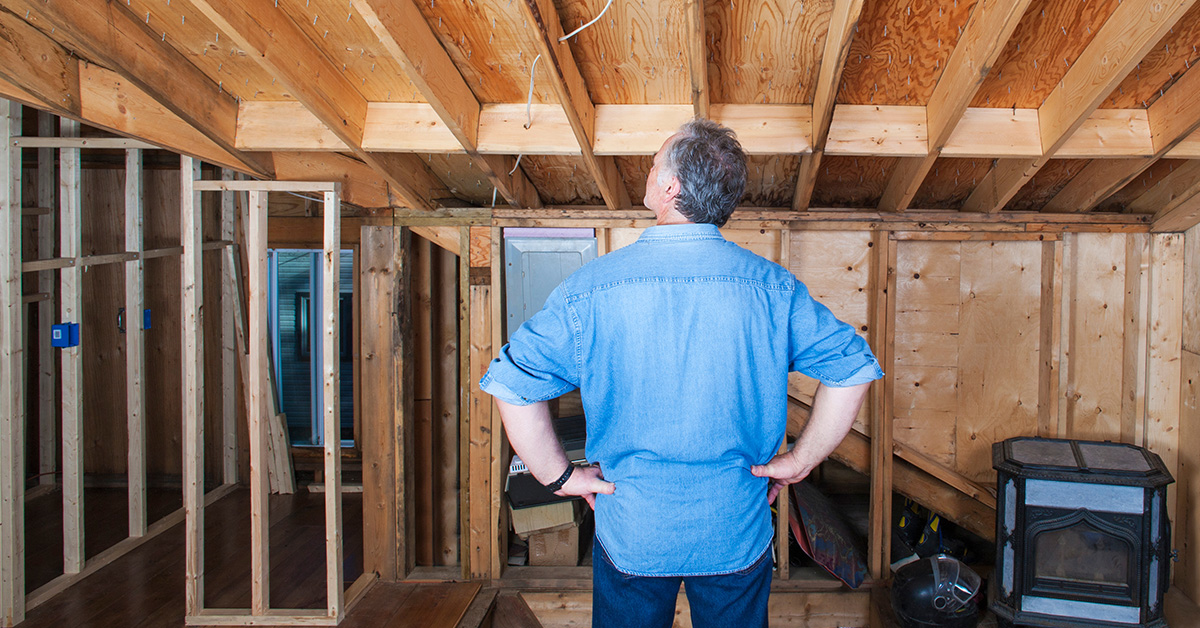
Start by inspecting your attic with a high-powered flashlight. This method is safer than climbing onto a wet roof, which could worsen damage to shingles or put you at risk of injury. Use the flashlight to scan the underside of the roof deck – wet wood will appear darker than dry wood. Pay close attention to areas around roof penetrations like vents, chimneys, skylights, and satellite dishes, as these are common sources of leaks. Inside your home, look for telltale signs such as brown or yellowish water stains on ceilings and walls, bubbling paint, or peeling wallpaper. Musty odors or damp insulation in the attic are also strong indicators of a leak.
For an outdoor inspection, use binoculars from the ground to check for missing shingles, lifted nails, or damaged flashing. This approach allows you to assess the roof safely without needing to climb up.
Once you identify a leak, act quickly to protect your belongings and minimize further damage.
Protect Your Belongings from Water
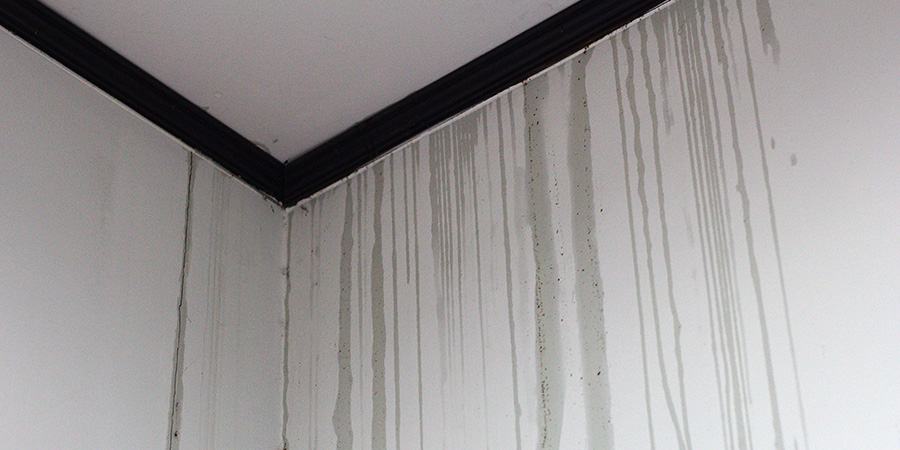
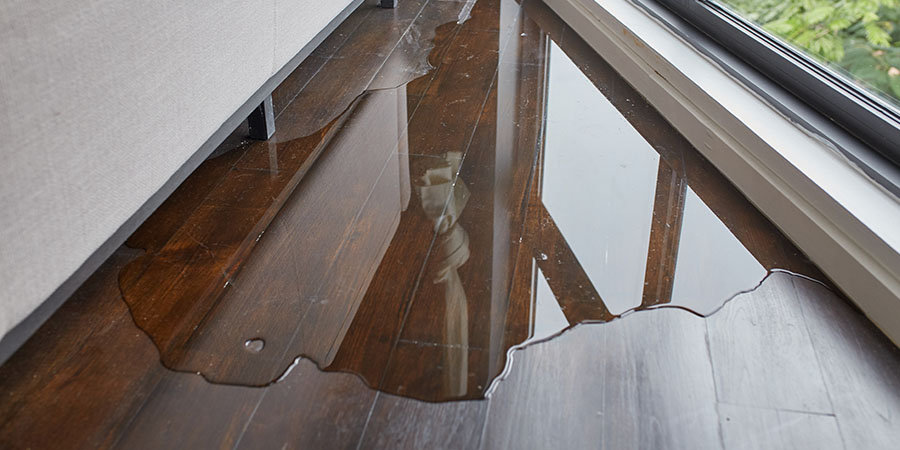
Quick detection is critical to preventing additional structural damage. Start by placing buckets under active drips and inserting a small board inside to reduce splashing. Move electronics, furniture, and important documents out of the affected areas immediately. For items that are too heavy to move, cover them with plastic sheeting or painter’s drop cloths to shield them from water. Use towels or mops to soak up any standing water as soon as possible since mold can start growing within 24 hours.
If water is near electrical outlets, light fixtures, or the electrical panel, turn off the power at the breaker box before attempting any cleanup or emergency roof repair. If it’s safe to access the attic during the storm, place a bucket directly under the leak to catch water before it seeps through to the ceiling.
After securing your belongings, focus on addressing any water trapped in your ceilings.
Drain Water from Bulging Ceilings
A bulging ceiling is a clear sign of trapped water that could cause it to collapse. Mark Romero, a home insurance expert at AgileRates, offers this advice:
"If the ceiling is bulging, take a screwdriver, and punch a hole in the center of the bulge. The water that accumulated drains to relieve the pressure".
Be sure to have a container ready to catch the water as it drains. If you hear loud cracking noises or notice cracks spreading across the ceiling, leave the room immediately, as structural failure may be imminent. Keep in mind that drywall can become fully saturated within an hour of a leak starting. Within 48 hours, you might see visible mold growth and weakening structural wood.
Step 2: Cover Damaged Roof Areas with a Tarp
After taking care of interior leaks, the next step is to protect the roof from further damage by covering the affected areas with a tarp.
Choosing and Positioning Your Tarp
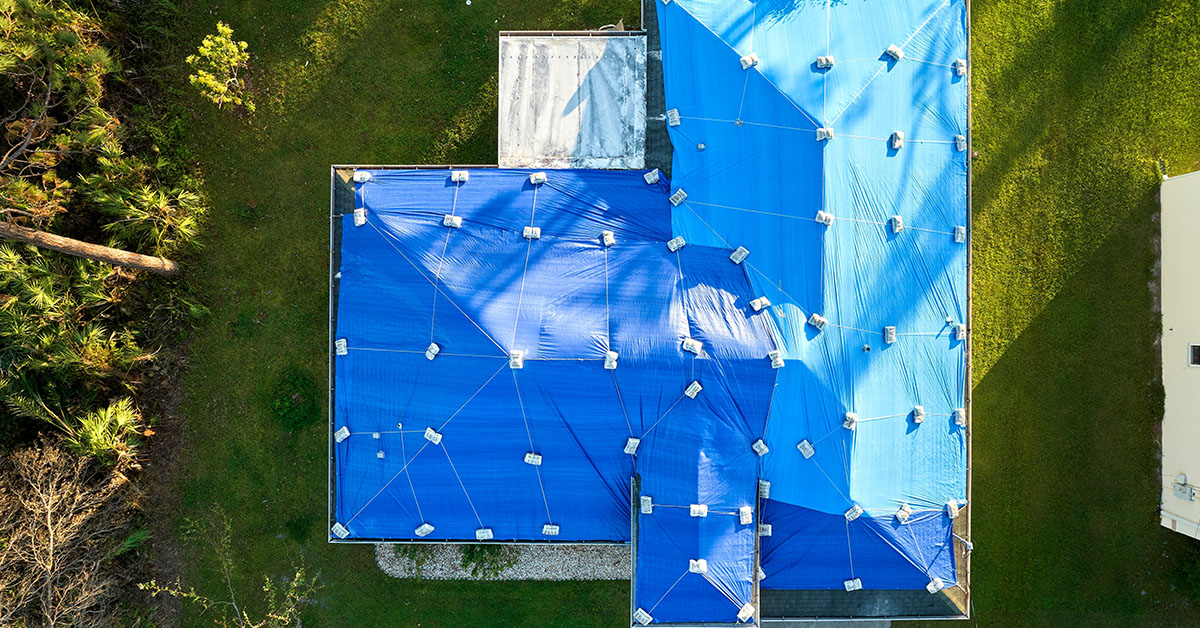
For storm protection, use a heavy-duty polyethylene or vinyl-coated tarp that is 10–12 mils thick. If you live in a high-wind area, consider using string-reinforced plastic sheeting for added durability. Opt for tarps with UV inhibitors to help them last longer if repairs are delayed.
Measure the damaged area and add 3–4 feet on all sides to ensure proper coverage. A 20×30-foot tarp is sufficient for most repairs. Position the tarp so the top edge overlaps the roof ridge – this helps direct rainwater away from the damaged area.
Before placing the tarp, clear away any debris, loose shingles, or branches to create a smooth surface. Start at the bottom of the damaged section and roll the tarp upward. Tuck the top edge under the shingles above to ensure water flows over the tarp rather than underneath it.
Once the tarp is in place, securing it properly is critical for long-lasting protection.
Securing the Tarp Properly
Avoid fastening screws or nails directly through the tarp, as this can lead to tears. Instead, wrap the tarp edges around 1×3 or 1×4 wooden battens and secure the battens to the roof using 2-inch deck screws.
"A tarp needs to be secured so wind can’t get underneath it and pull it loose. This is typically done by wrapping the tarp edges around wood boards or battens and fastening those boards securely."
Space the screws every 12 to 16 inches along the battens to keep the tarp firmly in place and prevent wind from lifting it. Be careful not to fasten screws into undamaged areas, as this can create new leaks. Gather the necessary tools beforehand, including a cordless drill, 2-inch deck screws, a utility knife, and pre-cut wood strips.
Do not attempt to install a tarp during a storm, on a wet or icy roof, or near downed power lines – it’s simply not safe. If your roof is steep or the damage is extensive, hiring a professional may be a better option. Professional tarping services typically cost between $300 and $1,500, depending on the roof’s complexity and the extent of the damage.
For emergency tarping assistance, contact Pro-Tech Roofing at 1107 N 105th E Ave, Tulsa, OK. Properly installed tarps can prevent thousands of dollars in interior repair costs.
Step 3: Apply Temporary Seals to Small Leaks
Once you’ve secured major damage with a tarp, it’s time to tackle smaller leaks. Temporary seals are a practical way to handle minor cracks or holes until you can arrange professional repairs. These fixes are ideal for small areas that don’t need full tarp coverage.
Materials for Quick Repairs
For sealing leaks around vent pipes or other small penetrations, hurricane tape is a solid choice. It holds up well even under UV exposure.
If you’re dealing with small holes or punctures, cut a 1/2-inch plywood or OSB patch that extends about 3 inches past the damaged area. Secure the patch using 2-inch or longer deck screws, spaced 6 to 12 inches apart around the edges. Deck screws are more reliable in harsh weather compared to drywall or galvanized screws.
To finish the job, apply roofing cement along the edges of the patch. This creates a protective seal. If your patch or tarp doesn’t naturally overlap the roof ridge, adding a continuous bead of roofing cement along the top edge can stop water from sneaking underneath. Just avoid using silicone caulk, which doesn’t stick well to wet asphalt shingles, or expanding spray foam, which isn’t waterproof and can complicate later repairs.
Application Tips for Best Results
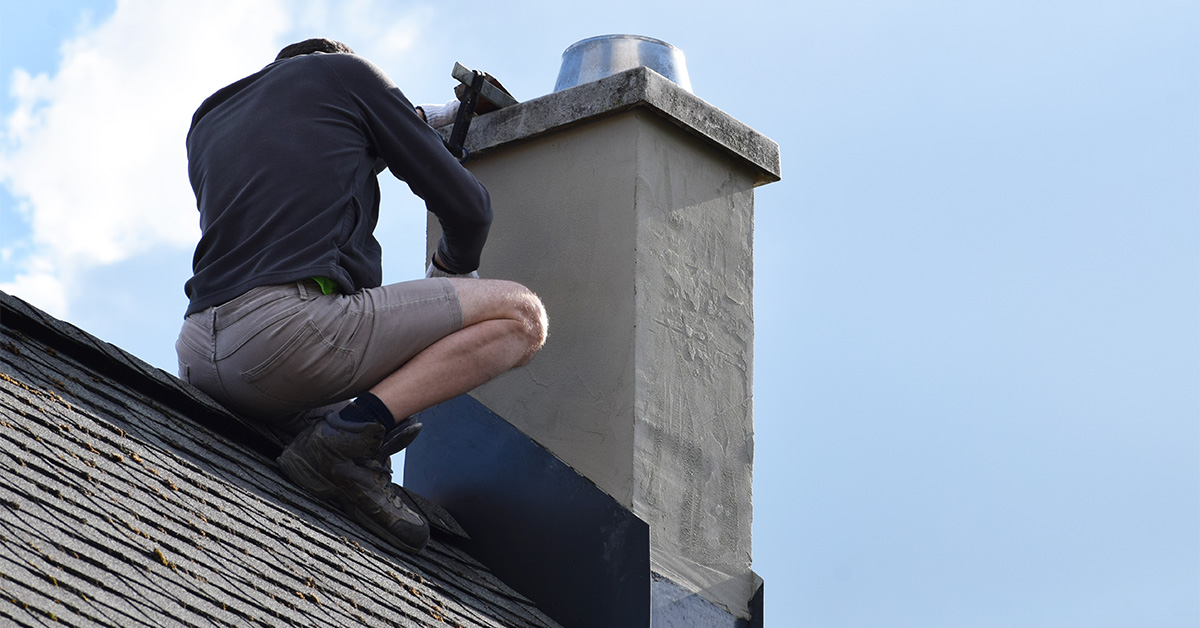
Make sure the roof is dry before applying any sealant. For vent pipe leaks, cut an opening in your patch material and use hurricane tape or a properly fitted vent cover to ensure a watertight seal.
"Never climb on a roof while it is raining, icy, or wet. No repair is worth a serious injury." – Arif Ismail
For a quick fix using the shingle slide method, lift the shingles above the leak, slide in a piece of metal flashing or a replacement shingle, and secure it with roofing cement.
Temporary patches can last anywhere from 1 to 6 months, depending on the materials used. For permanent solutions, such as replacing a pipe boot – which typically costs under $400 – reach out to Pro-Tech Roofing for a professional inspection and repair.
Step 4: Clean Your Gutters and Downspouts
Storms can leave more than just leaves in your gutters. Branches, shingle granules, and other debris might block water flow, pushing moisture back under your roof and potentially creating new leaks. Clearing out this debris not only helps prevent damage but also gives you a chance to check on your roof’s condition.
Remove Debris Safely
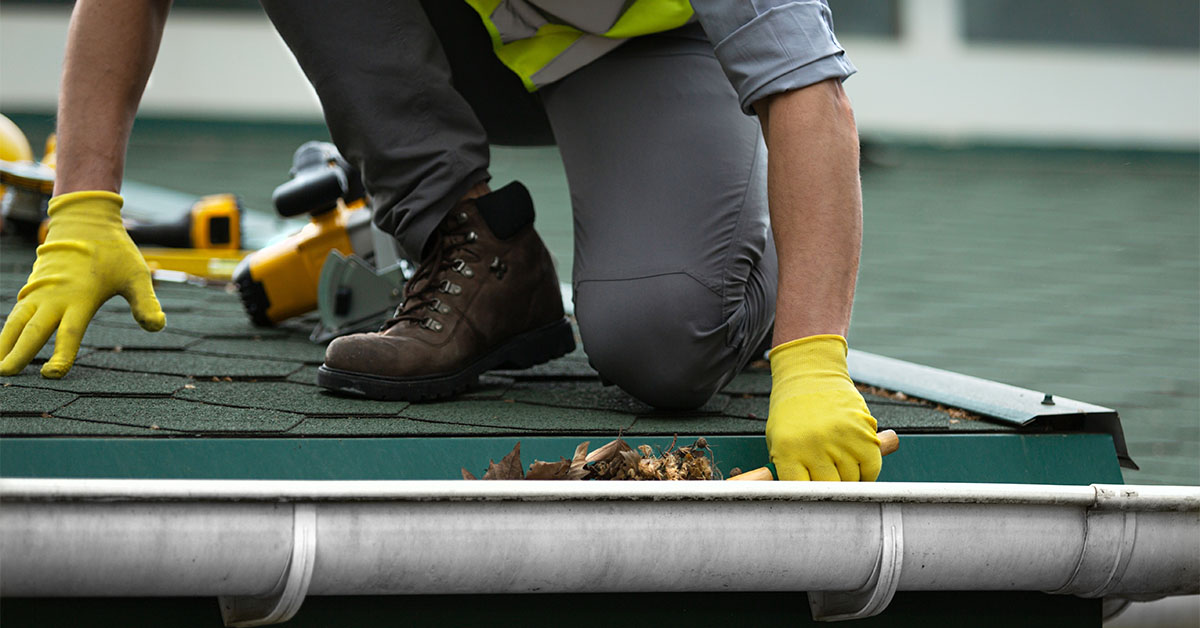
Before you start, make sure to gear up with gloves, sturdy boots, and a hard hat. Look out for hazards like fallen power lines or unstable structures, and mark any danger zones. Place your ladder on stable, level ground, ensuring it extends at least 3 feet above the gutter line for added safety.
As you clear the debris, keep an eye out for shingle granules. These tiny particles protect shingles from UV damage, so their presence in your gutters could indicate wear and tear. Joseph Elshazly, President and CMO of Rapid Restoration Group, emphasizes:
"If your gutters are filled with shingle granules, things are probably wearing down".
This could be a warning sign that your roof is becoming less effective at protecting your home.
Set Up Regular Gutter Maintenance
Routine gutter cleaning isn’t just about avoiding water damage; it also helps you monitor your roof’s health. Aim to clean and inspect your gutters at least twice a year – spring and fall are ideal. Document any signs of trouble, like granule buildup, broken shingles, or curling edges, by taking photos. These records can help you track changes over time and make discussions with roofing professionals more productive.
In between cleanings, trim back any tree branches hanging over your roof. Dead limbs can break off during storms and clog your gutters in no time. If your roof is over 20 years old, consider scheduling quarterly checks to catch potential water damage early. And if you spot widespread granule loss or structural issues during your cleaning, reach out to Pro-Tech Roofing for a professional evaluation.
Step 5: Document All Storm Damage
Once you’ve handled any urgent repairs, the next step is to document the storm damage thoroughly. This step is essential for filing an insurance claim and planning future repairs. Clear evidence, like photos and notes, can strengthen your case and help roofing experts better understand the extent of the damage.
Taking Effective Damage Photos
Start by enabling GPS and date stamps on your smartphone. This ensures your photos have accurate location and time data. Take a systematic approach with wide, medium, and close-up shots of the damage. Cover all four sides of your home and the entire roof from ground level to get a full picture of the impact.
For close-up shots, include a familiar object – like a coin or ruler – for scale. Always take photos in natural daylight to highlight details, such as small hail marks, that might not be visible under artificial light. Avoid climbing onto a damaged roof for safety reasons. Instead, use your phone’s zoom or take pictures from a ladder at the roof’s edge.
"For each damaged area, take three types of photos: wide shots showing location, medium shots showing extent, and close-ups showing specific damage details." – Mike McGilvary, Owner of Mike McGilvary Roofing
Don’t skip the interior! Photograph water stains on ceilings, peeling or bubbling paint, wet insulation in the attic, and any damaged personal belongings. Once you’ve taken your photos, upload them to cloud storage right away. This prevents losing vital evidence if your phone gets damaged or lost.
Creating a Written Record
In addition to photos, keep a detailed storm damage journal. Note the date, weather conditions, and any emergency repairs you’ve made. Create an inventory of damaged items, including brief descriptions and key details, organized by room or location.
It’s also helpful to maintain a communication log. Record the date, time, and names of everyone you speak with – whether it’s your insurance company or roofing professionals. Add a short summary of each conversation for reference. If possible, save physical evidence like torn shingles or large hailstones until an insurance adjuster has had a chance to inspect them.
When you’re ready to have the damage professionally evaluated, reach out to Pro-Tech Roofing at 1107 N 105th E Ave, Tulsa, OK. They can provide a comprehensive inspection and the detailed documentation that insurance companies require.
Step 6: Contact Pro-Tech Roofing for Professional Help
After documenting the damage, it’s time to call in a licensed roofing contractor. A professional inspection can uncover hidden issues that might go unnoticed during a DIY check.
What Pro-Tech Roofing Offers
Pro-Tech Roofing provides free professional roof inspections that dig deeper than a surface-level review. Their experienced team is trained to identify problems such as hail damage on shingles, moisture buildup in the attic, and compromised flashing – issues that could easily be missed on your own. Considering that the average roof repair costs around $12,315, catching these problems early is crucial.
The company specializes in storm damage repair and restoration for both residential and commercial properties in the Tulsa area. Their services include replacing damaged shingles, repairing gutters, and restoring metal roofs. They also help with detailed documentation, making the insurance claims process much smoother.
If more than 25–30% of your roof is damaged, Pro-Tech Roofing may recommend a full replacement. This ensures long-term protection and helps prevent future water damage, offering a solution that prioritizes durability over short-term fixes.

Schedule Your Free Inspection
Don’t wait too long to schedule your inspection – peak seasons can fill up quickly, which might delay repairs and impact your insurance claim timeline. You can visit their office at 1107 N 105th E Ave, Tulsa, OK or call to book your free inspection. Their team will provide a custom quote and a tailored repair plan based on your roof’s specific needs.
Step 7: Plan for Long-Term Roof Protection
Once you’ve tackled urgent repairs with professional help, it’s time to think about long-term care. Keeping your roof in good shape year-round not only extends its lifespan but also saves you money by avoiding costly emergency repairs.
Benefits of Routine Roof Inspections
Scheduling regular roof inspections with a professional can help you catch small problems before they turn into big headaches. Issues like loose shingles, worn flashing, or seals lifted by strong winds might seem minor at first, but if left unchecked, they can allow water to seep into the underlayment or roof deck. This can lead to mold growth and even damage to your interior ceilings.
The financial upside is hard to ignore. With proper maintenance, standard architectural asphalt shingles can last 25 to 30 years, while metal roofs can endure for 40 to 70 years. Plus, a new asphalt shingle roof can add an average of $15,247 to your home’s resale value, with a national return on investment (ROI) of 61% to 68%. By staying on top of inspections, you protect your home’s value and reduce the likelihood of expensive, last-minute fixes.

Maintenance Tips Between Inspections
You don’t have to wait for a professional to keep an eye on your roof. Here are a few simple ways to maintain it between inspections:
- Use binoculars to check for missing shingles, curling edges, or debris from the ground.
- Clean your gutters regularly to prevent water buildup and ensure proper drainage.
- Watch for excessive shingle granules in your gutters, a sign that your roof’s protective layer is wearing down.
- Trim nearby tree branches so they stay at least six feet away from your roof. This minimizes damage risks and keeps pests at bay.
Don’t forget to check your attic periodically. Look for water stains on rafters or any daylight peeking through gaps. Inspect metal flashing around chimneys and skylights for rust or gaps, and check the rubber boots around plumbing vents for signs of cracking or dry rot. If you spot moss or algae, gently remove it with a soft-bristle brush and a solution of one part bleach to three parts water. Avoid power washing, as it can strip the protective granules from your shingles.
FAQs
How can I tell if a roof leak is from the roof or plumbing?
To figure out whether a leak is coming from the roof or the plumbing, focus on these key factors: location, timing, and source.
- Location: Roof leaks typically show up on ceilings directly below the roof. Plumbing leaks, on the other hand, are usually found near water fixtures or along exposed pipes.
- Timing: Roof leaks often get worse during heavy rain or storms. Plumbing leaks, however, can occur at any time, regardless of the weather.
- Source: Roof leaks originate from outside, usually due to damaged shingles or flashing. Plumbing leaks involve problems with pipes, fixtures, or connections.
If you’re still unsure, consider checking the attic for signs of water entry or reaching out to a professional for a thorough inspection.
Will my insurance cover emergency tarping and temporary leak repairs?
Yes, most homeowners insurance policies include coverage for emergency tarping and temporary leak repairs, as long as these measures are taken to prevent further damage after a covered event, like a storm or fire. This usually covers the cost of the tarp and any related emergency services. However, it’s always a good idea to review your policy or check with your insurance provider to understand the specifics and make sure you’re fully covered.
What storm damage signs mean I need a full roof replacement?
If your roof is showing signs of major wear and tear, it might be time to consider a full replacement. Look out for curled, cracked, or missing shingles, as well as bald spots where the protective granules have worn away. Age is another factor: if your roof is over 20 years old, it’s likely nearing the end of its lifespan.
Damage covering more than 25% of the roof’s surface often makes replacement a smarter, more cost-effective choice compared to constant repairs. Other warning signs include dark streaks, moss growth, or shingles that are curling or cupping significantly. These issues can compromise your roof’s ability to protect your home effectively.