A small roof leak can cause big problems. From water stains to structural damage, ignoring leaks can lead to costly repairs. Fixing a minor leak early can cost under $100 for DIYers or $175–$450 for professionals. This guide walks you through identifying leaks, gathering tools, and safely making repairs.

Key Takeaways:
- Common causes: Damaged shingles, faulty flashing, clogged gutters, or roof penetrations like chimneys and vents.
- Signs of leaks: Water stains, musty smells, peeling paint, or frost-covered nails in the attic.
- DIY repairs: Use roofing cement, replacement shingles, and proper tools like a pry bar and caulk gun.
- Safety first: Wear non-slip shoes, use a secure ladder, and avoid working in wet or cold conditions.
- When to hire a pro: For steep roofs, structural damage, or complex flashing repairs.
Act quickly to prevent further damage and save money. For persistent issues or advanced repairs, professional roofers can ensure long-lasting solutions.
How To Fix a Roof Leak. Any Type of Roofing. Shingles, Vents, Flashing -Jonny DIY
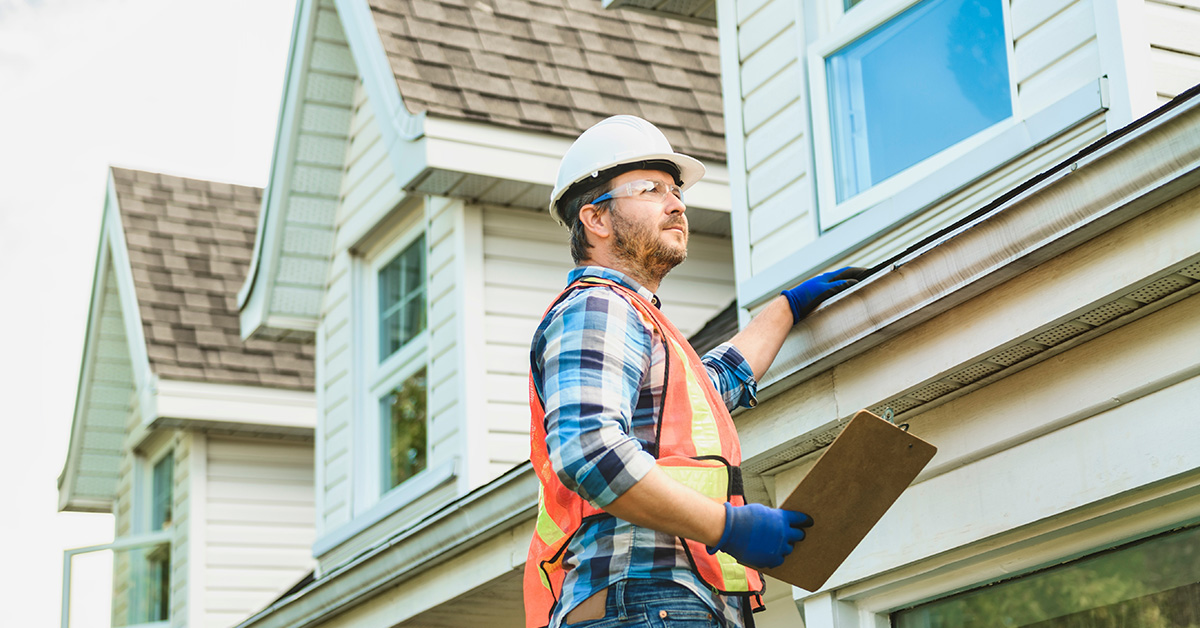
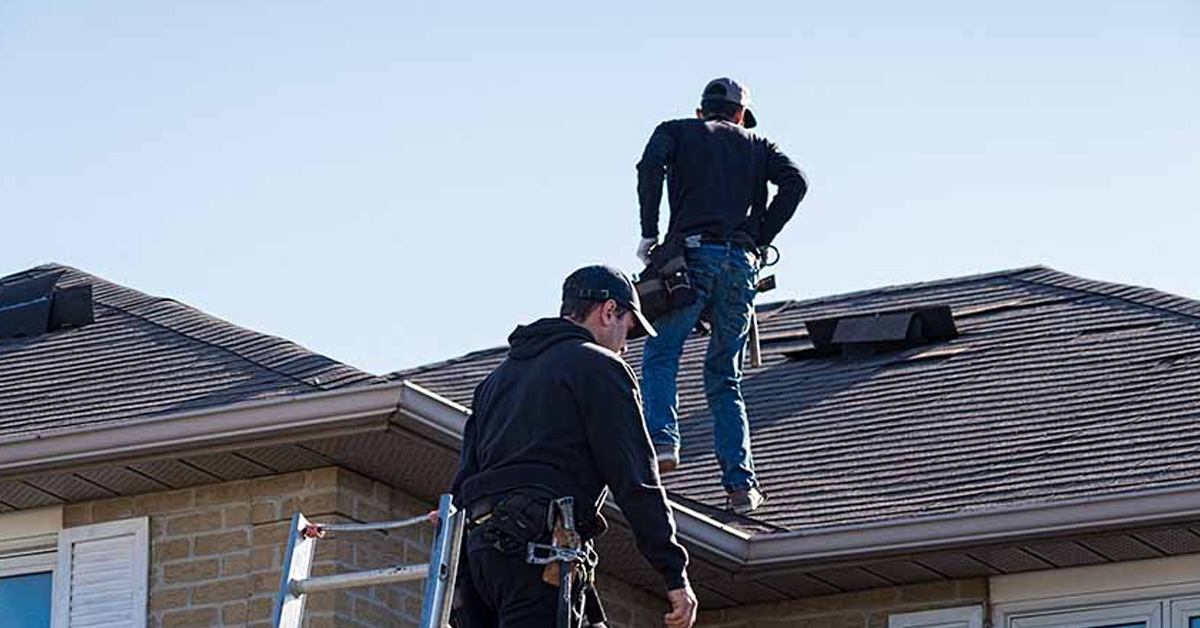
Safety Precautions Before Starting Repairs
Working on a roof comes with serious risks – falls from heights led to 395 construction-related deaths in 2022 alone. Before fixing a leaking roof, it’s crucial to gear up with the right safety equipment and carefully plan your work to minimize potential hazards. Here’s what you need to know about staying safe.
Safety Gear You’ll Need
Start with the basics. Rubber-soled, non-slip shoes are essential for maintaining good traction on potentially slick surfaces. Protect your hands with sturdy gloves to avoid cuts or scrapes from nails and rough materials, and use safety goggles or glasses to keep debris out of your eyes.
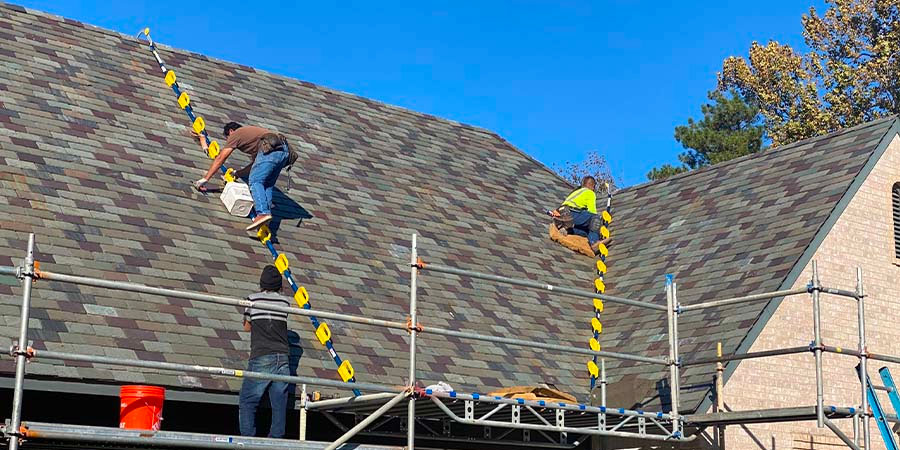
If you’re working on a steep or high roof, additional precautions are non-negotiable. Equip yourself with safety harnesses, scaffolding, and a well-secured ladder. As Direct Roofing puts it:
"If you are working on a steep or high roof, consider contacting a professional roofer, who will have equipment like harnesses and scaffolding that is necessary to safely climb on the roof and repair the leak."
Weather and Ladder Setup Tips
Avoid working on a wet roof at all costs. Moisture makes surfaces dangerously slippery, significantly increasing the likelihood of a fall. Wait for the roof to dry completely and ensure calm weather conditions before starting. Additionally, if water is near any electrical components, shut off the power to those areas immediately. J & M Roofing emphasizes:

"If you’re pretty sure water’s getting around electrical components, you should cut the power to that room if possible. Shorts and electrical fires are very dangerous."
Temperature also plays a critical role in roof repairs. For roofing cement to cure properly, the temperature needs to be above 50°F. Trying to seal leaks in colder conditions may result in an ineffective repair, as the material won’t set as intended.
When it comes to ladder safety, follow these key steps to ensure stability. Use the 4:1 rule – position the ladder base one foot away from the wall for every four feet of height. Make sure the ladder extends at least 3 feet above the roofline. Secure the base with assistance if possible, maintain three points of contact at all times, and avoid stepping on the top three rungs. Proper setup can make all the difference in preventing accidents.
Materials and Tools Needed for Roof Repairs
Before you climb up that ladder, make sure you’ve got everything you need. Having all your tools and materials on hand not only saves time but also reduces the number of trips up and down the ladder – making the job safer and more efficient. If you’re tackling the project yourself, most residential roof repairs can cost under most DIY roof repairs can cost under $100 for supplies00 for supplies. Here’s a breakdown of the essentials you’ll need.

Tools for the Job
To get started, you’ll need a few key tools:
- Pry bar: Perfect for removing nails and lifting shingles.
- Hammer: For driving in new roofing nails.
- Utility knife: Ideal for cutting shingles and trimming materials.
- Tin snips: Useful for cutting metal flashing.
- Caulk gun: Helps apply sealant with precision.
- Putty knife or trowel: To spread roofing cement evenly.
- Wire brush or chisel: Great for cleaning off old debris and sealant to ensure better adhesion.
- Blow dryer: Handy in cold weather to soften stiff or curled shingles, preventing cracks.
- Garden hose: Useful for simulating leaks and pinpointing their exact source.
These tools cover most of the basics and will make your repair process smoother.
Repair Materials to Have on Hand
For actual repairs, stock up on the following materials:
- Roofing cement or waterproof sealant: Essential for sealing and patching.
- Galvanized roofing nails: For securing shingles.
- Matching replacement shingles: To blend seamlessly with your roof.
- Rubber-washer screws: Ideal for securing metal elements.
- Metal flashing: For reinforcing and sealing around roof edges or vents.
- Roof paper and adhesive ice-and-water barriers: For added protection against moisture.
- Emergency supplies: A waterproof tarp or adhesive roofing tape can provide temporary fixes in urgent situations.
Keep in mind, while caulk might seem like a quick fix, it’s not a long-term solution – it will likely fail within a few months. Having the right materials ensures a repair that lasts.
sbb-itb-66ccccd
Step-by-Step Instructions for Fixing Small Roof Leaks
Once you’ve gathered your tools and materials, it’s time to dive into the repair process. A typical roof repair usually takes about 2 to 5 hours to complete. Follow these steps carefully to ensure your fix lasts.
Step 1: Find and Inspect the Leak
Start in the attic to locate the source of the leak. This is often the easiest way to pinpoint the problem. Look for water stains, mold, or damp insulation. Keep in mind that water doesn’t always drip straight down – gravity often pulls it along the structure, so the actual entry point on the roof is likely higher than the stain or drip you see indoors.

Pay close attention to "shiners" – nails that missed the framing during installation. These can be telltale signs of leaks. Use low lighting to spot any small light leaks through the roof decking.
"Leaks are most commonly found along penetrations in the roofs’ surface, like near skylights, vents, or other areas like valleys that experience heavy drainage."
- Niki O’Brien, Renovation Company Manager
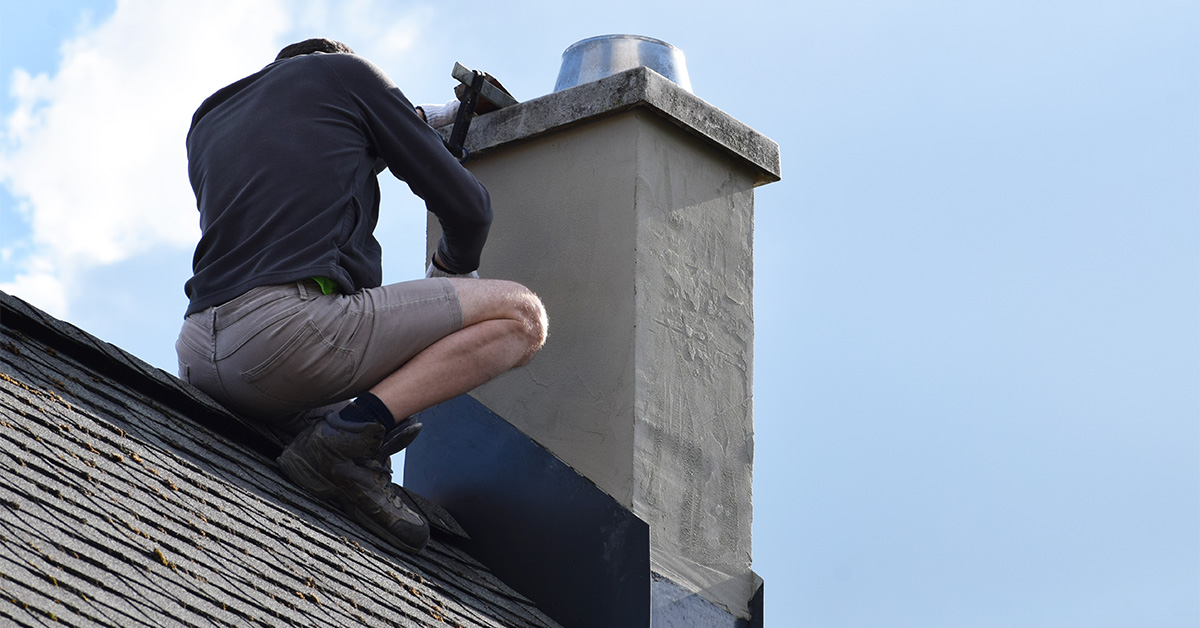
Focus on roof penetrations such as chimneys, vents, skylights, and valleys, as these are common trouble spots. If you find a wet area in the attic, trace the moisture trail upward along the rafters to locate the source.
If a visual inspection doesn’t work, try a water spray test. Have someone inside watch for drips while you spray the roof with a garden hose. Start low and work your way up in sections, soaking each area for a few minutes before moving on. Before climbing up, use binoculars to scan for missing, curled, or broken shingles and cracked flashing from the ground.
Once you’ve pinpointed the leak, move on to preparing the area.
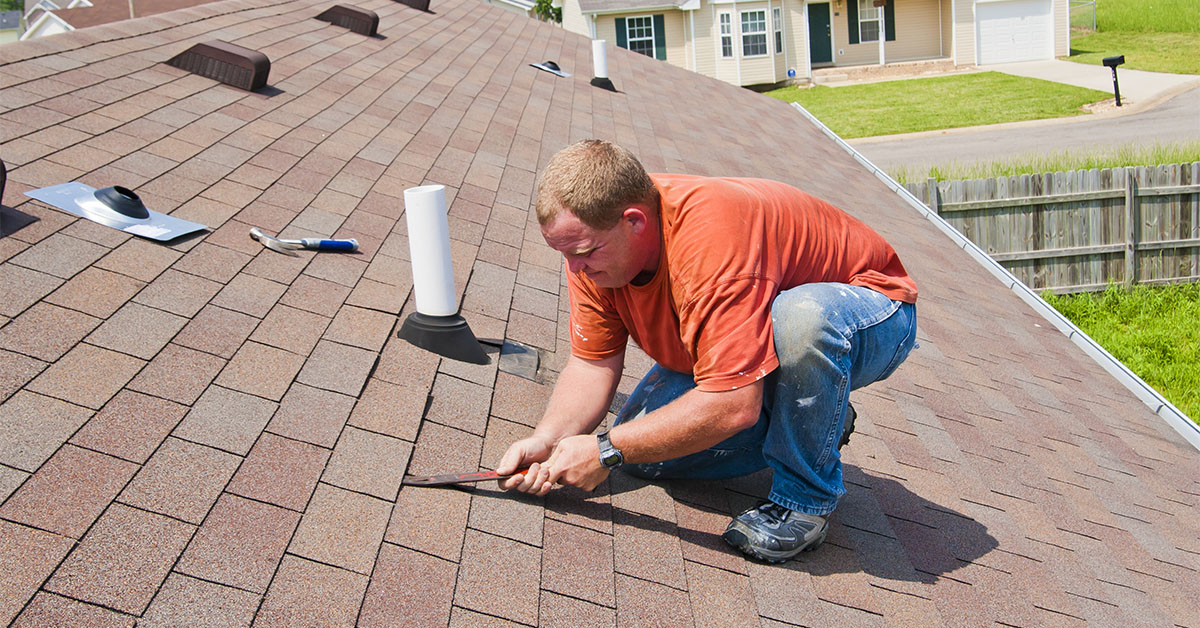
Step 2: Clean and Prepare the Damaged Area
Clear away debris like dirt, gravel, or twigs from the repair site. A clean surface is critical for proper adhesion of repair materials.
Use a hammer or pry bar to remove damaged shingles, flashing, or old sealant. Pull out old nails to prevent them from interfering with new materials. Scrape off any leftover roofing cement with a putty knife to create a smooth surface.
"Once you’ve removed all of the damaged materials, you’ll need to clean the area. This will help ensure that the repair process is successful."
- MY PITTSBURGH ROOFING
Make sure the area is completely dry before proceeding. Roofing cement and sealants won’t stick to wet surfaces. For flat roofs, mop up standing water with rags and allow the area to air dry. If you’re dealing with a blister in the roofing material, carefully slice it open with a utility knife, drain any trapped water, and prop it open to dry out. Scrub away stubborn grime with a wire brush for the best results.
Once the area is clean and dry, you’re ready to apply the roofing cement or sealant.
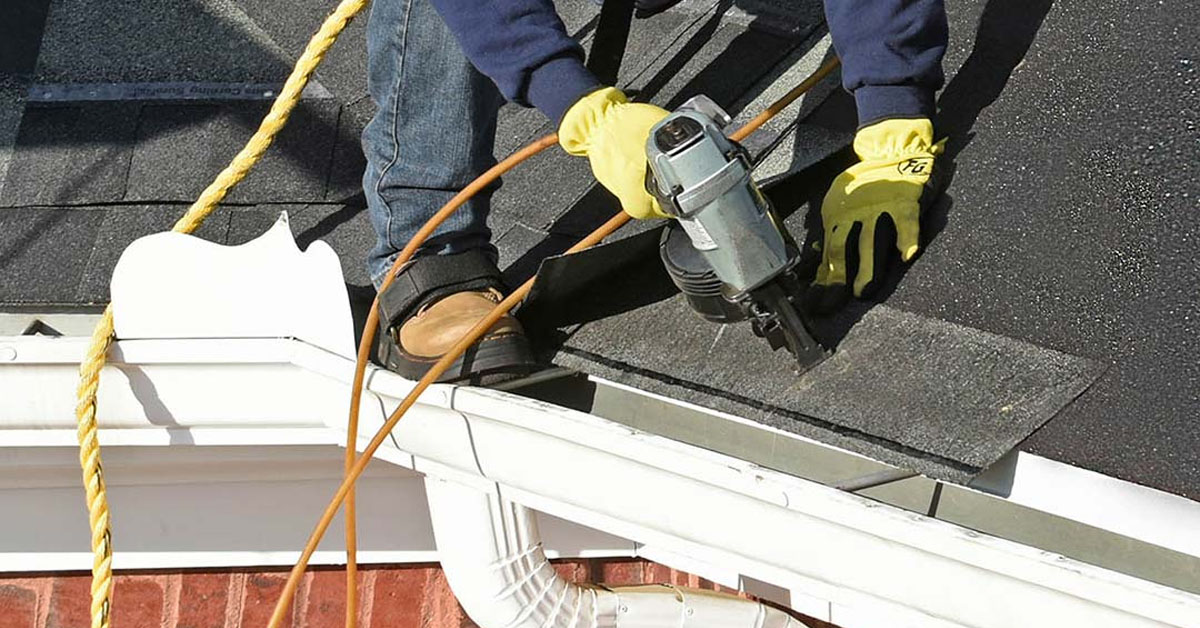
Step 3: Apply Roofing Cement or Sealant
Spread a thick bead of roofing cement using a caulk gun or trowel. For cracks, make sure the sealant covers both the inside and outside of the gap. Smooth it out with a putty knife to ensure a tight seal.
If replacing shingles, apply roofing cement over the nail heads and along the edges of the new shingle to create a waterproof bond. For curled shingles, lift the edges, apply sealant underneath, and press them down firmly. When working with flashing, apply a bead of cement beneath it before nailing it into place, then seal the nail heads for added protection.
Choose the right product for the job. Roofing cement is ideal for patching holes and securing shingles, while silicone-based caulk works best around metal or rubber vent boots. For metal roofs, clean small punctures, scuff the area with steel wool, and apply urethane sealant before placing a metal patch.
For patches or flashing, ensure the material overlaps the damaged area by at least 4 inches on all sides to prevent water from sneaking underneath. To blend shingle patches with the rest of the roof, sprinkle loose asphalt granules over the wet sealant.
Once the repair is sealed, move on to securing it in place.
Step 4: Secure the Repair with Nails or Tape
Use galvanized roofing nails to secure the repair, spacing them evenly. Cover each nail head with roofing cement to keep water out. For temporary fixes, use adhesive roofing tape, pressing it firmly to eliminate air bubbles. Rubber sealant spray can also work for hard-to-reach spots when you need an immediate solution.

Step 5: Use a Tarp for Emergency Coverage
If you can’t complete the repair right away or bad weather is on the way, use a waterproof tarp as a temporary measure. In cases of severe damage, you may need to consider a full roof replacement to ensure long-term protection. Extend the tarp at least 3 feet beyond the damaged area on all sides to ensure full coverage.
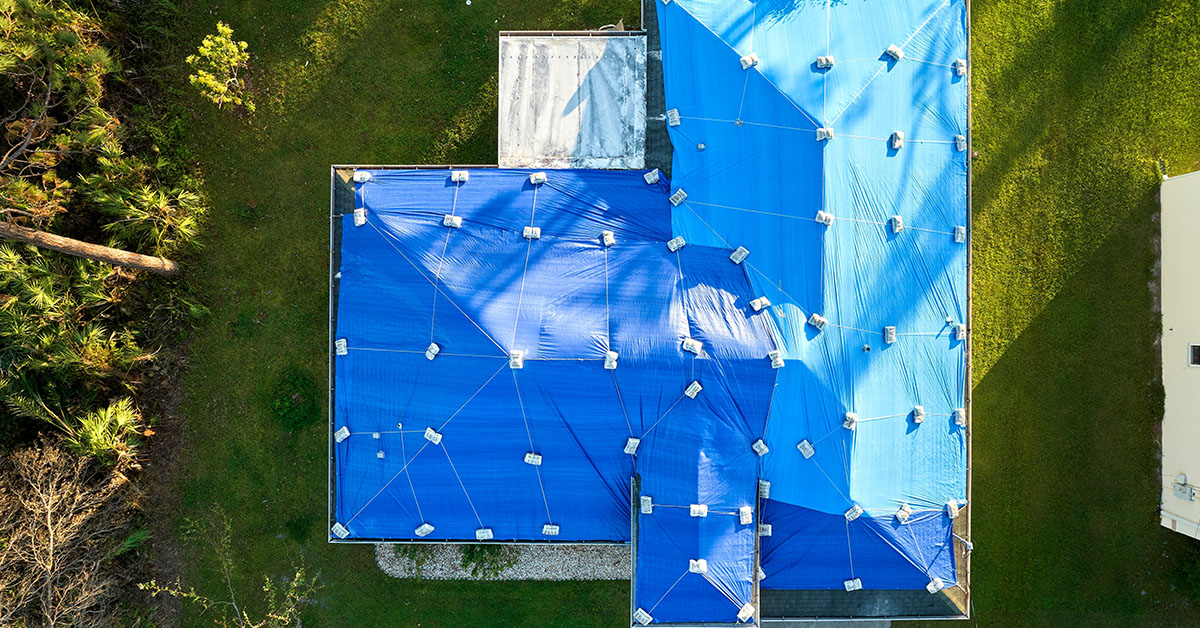
Secure the tarp by anchoring it with 2x4s. Wrap one end of the tarp around a wooden board and fasten it with nails or staples. Place this anchored edge above the leak and roll the tarp down over the damaged area. Secure the bottom edge with another 2×4 to keep the tarp in place, even in windy conditions.
When to Call a Professional Roofing Expert
Signs You Need Professional Help
While some roof issues might be manageable as DIY projects – like resealing a pipe boot – others are far more complex and require professional attention.
Flashing damage, which accounts for about 95% of roof leaks, is a prime example. This type of damage often occurs around chimneys, skylights, or vents and can involve intricate repairs ranging from $200 to $1,200.
"Rarely will caulk or roof cement permanently cure a leaky roof on their own. You should always attempt a ‘mechanical’ roof fix whenever possible."
- Chris Deziel, Renovation Expert
Structural problems like rotting wood, discolored felt, or water-stained decking are clear indications of deeper issues. These problems often require expert intervention, with repairs typically starting around $300. Addressing these early can prevent much larger expenses later on.
If your home has a steep roof (pitch greater than 6:12), multiple stories, or uses specialized materials like metal, tile, or slate, the tools and expertise needed often go beyond what most DIYers can handle.
Additionally, if flashing is over 20 years old or multiple areas are affected, hiring a professional for replacement is a smarter long-term investment. Sealants generally last only 5–10 years, whereas flashing can last up to 25 years, making repeated DIY fixes less practical.
In situations like these, relying on experienced professionals is the safest and most effective choice.
Why Choose Pro-Tech Roofing
For homeowners dealing with these challenges, professional roofing services ensure quality and durability.
Pro-Tech Roofing, serving the Greater Tulsa area, provides licensed and insured roofing solutions certified by top manufacturers like GAF and Owens Corning. They handle both residential and commercial roofs, offering expertise in materials such as asphalt shingles, metal, slate, and tile.
One standout service is their free roof inspections, helping homeowners spot potential problems before they escalate. Their skilled team can assess whether a minor leak needs a simple repair or if it signals a more serious underlying issue. With extensive experience in handling complex repairs – like chimney and valley flashing or metal roof restoration – they are well-equipped to address the root causes of significant leaks.
By choosing seasoned professionals like Pro-Tech Roofing, homeowners benefit from contractors who carry proper insurance, certifications, and advanced diagnostic tools. They also adhere to manufacturer guidelines, which helps maintain roof warranties and shields homeowners from liability. For those in Tulsa, Broken Arrow, Jenks, and nearby areas, working with a local expert ensures repairs are tailored to Oklahoma’s unpredictable weather conditions.
To schedule a free inspection and get a comprehensive evaluation of your roof, visit Pro-Tech Roofing.
Conclusion
Even the smallest roof leaks can escalate quickly, leading to structural damage that might even result in collapse. Persistent moisture not only weakens the building’s integrity but also encourages mold growth, which can pose health risks. Beyond that, leaks can wreak havoc on ceilings, walls, flooring, and insulation.
The costs for addressing these issues vary widely. DIY repairs might cost between $10 and $120, while professional fixes typically range from $360 to $1,550. However, delaying repairs can easily push costs over $1,000. As Zach Reece from Colony Roofers puts it:
"The longer you wait to deal with it, the more costly the repair will be and the more substantial the damage".
This underscores the importance of staying ahead with seasonal roof maintenance.
Key Takeaways
- Routine inspections are crucial. Aim to inspect your roof at least twice a year – once in the spring and again in the fall – to catch leaks early and avoid costly damage.
- Safety first for DIY repairs. Always wear proper footwear with good traction, use a stable ladder with someone assisting you, and only work on dry, warm days.
- Be prepared and methodical. Gather the necessary tools and materials, locate the leak, clean the area, apply roofing cement or sealant, and secure the repair thoroughly.
- Know when to call the pros. If you encounter multiple leaks, sagging sections, steep slopes, or tricky flashing areas, it’s best to hire professionals.
For homeowners in Tulsa, Pro-Tech Roofing offers free inspections to identify potential issues before they spiral out of control. With manufacturer certifications and expertise in dealing with Oklahoma’s unpredictable weather, they’re a reliable option for peace of mind.
FAQs
What are the common warning signs of a roof leak?
When a roof leak starts, the evidence often shows up inside your home. Keep an eye out for water stains or discoloration on your ceilings and walls. You might also notice damp spots or a musty smell, which could point to mold growth.
Outside, inspect your roof for missing, cracked, curled, or damaged shingles. Pay special attention to the flashing around chimneys, vents, and skylights, as issues here are common culprits. Spotting these warning signs early can save you from dealing with more serious damage down the road.
What’s the safest way to check my roof for leaks?
To safely check your roof for leaks, start inside your home. Keep an eye out for water stains, discoloration, or rings on your ceilings and walls – these are often telltale signs of a leak. Then, head up to your attic during daylight hours. If you spot streams of light, water stains, or mold, there’s likely an issue that needs attention.
Outside, take a careful look at your roof from a stable surface. Check for missing or cracked shingles, curling or worn shingles, and damaged flashing around vents, chimneys, or skylights. Keep in mind that water tends to travel downhill, so the actual source of a leak might be higher up than where you notice interior damage. Snap photos of any trouble spots to share with a professional if necessary.
Not comfortable inspecting your roof yourself? Pro-Tech Roofing offers professional roof inspections and can verify any problems you’ve identified.
When should I hire a professional roofer instead of fixing a leak myself?
If the roof leak goes beyond a simple DIY fix or involves safety and structural concerns, it’s time to call a professional roofer. Some clear signs you need expert help include water damage such as rot, mold, or swelling around siding, windows, or doors, as well as electrical issues caused by the leak. If you’re unable to pinpoint the source of the problem, or if your roof has steep slopes, multiple stories, or fragile materials like slate or tile, it’s best to leave the repair to skilled professionals.
Leaks from storms, cracked flashing, or missing shingles can escalate quickly, leading to significant water damage if not addressed promptly. Repairs involving large sections of shingles, structural components, or specialized roofing systems like metal or slate require expertise. Although hiring a professional typically costs between $360 and $1,550, it can prevent costly errors and ensure the job is done right.
For trusted inspections and repairs, contact Pro-Tech Roofing. Their licensed and insured team, based in Tulsa, specializes in asphalt shingle, slate, tile, and metal roofs, delivering safe and high-quality repairs you can count on.